Advertisement
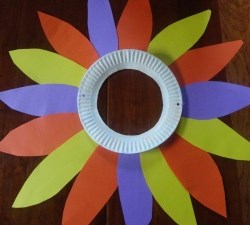
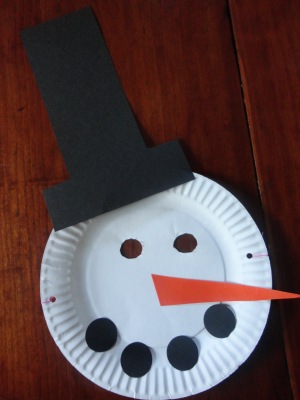
Snowman Dress Up Mask
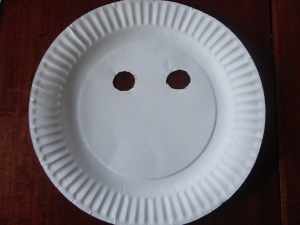
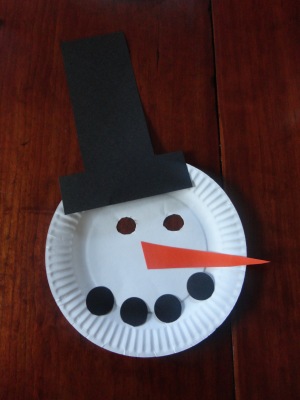
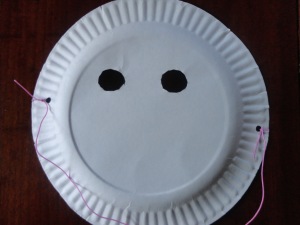
Don the whimsical Frosty the Snowman Dress Up Mask and follow the suggested ideas in the instructions to create an afternoon of blustery fun. Create your own snowman mask from colored cardstock, a paper plate, elastic string, hole punch, and markers. Then, gather up a scarf, dress in white, put on your mask, and hope no one mistakes you for a real snowman!
Advertisement
|
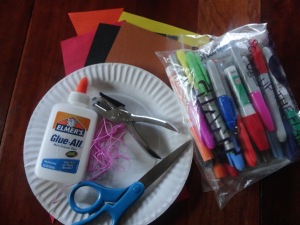
What you'll need:
|
|