Advertisement
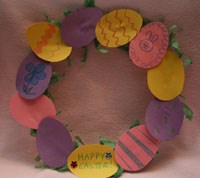
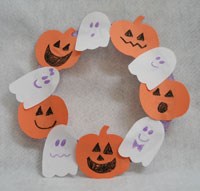
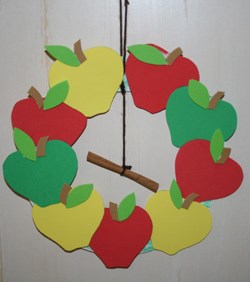
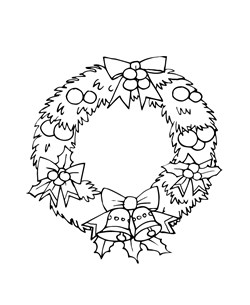
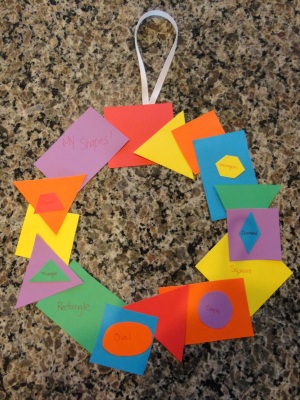
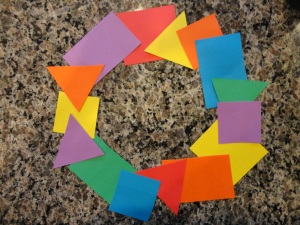
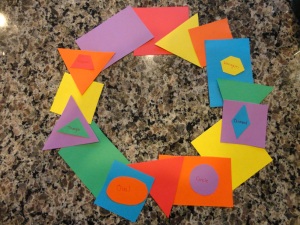
Geometric Wreath
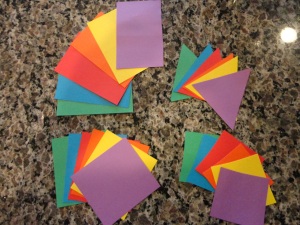
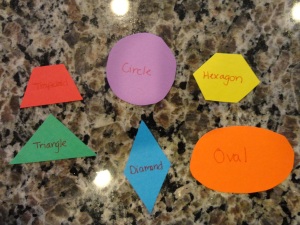
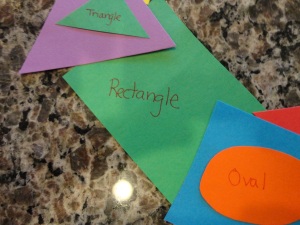
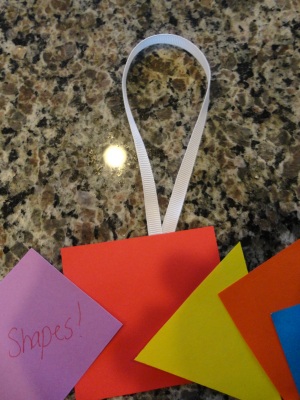
Teach your child his or her shapes while making the Geometric Wreath. This creative craft features cardstock, ribbon, markers, and scissors to make a fun wreath. This wreath can be color coordinated to match any room or holiday. Make one with you child today!
Advertisement
|
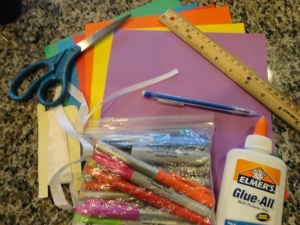
What you'll need:
|
|