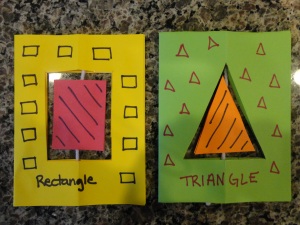
Young children will love creating the Rotating Shape Cards. Make this craft with your child and then allow him or her to decorate the cards. After writing the names of the shapes on one side of the rotating shapes, youngsters are sure to begin to recognize the shapes they see. Instructions are also provided for teaching colors to children!
|
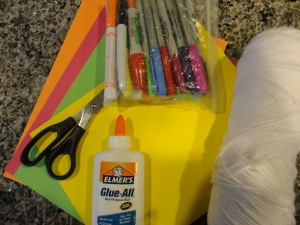
What you'll need:
- 4 large pieces of colored cardstock
- 8 small pieces of colored cardstock
- String, ribbon, or yarn
- Scissors
- Glue
- Markers or crayons
How to make your Rotating Shape Cards
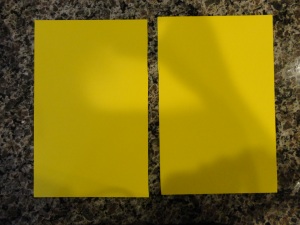
- Fold each piece of cardstock in half vertically and cut along the folded line. (see photos)
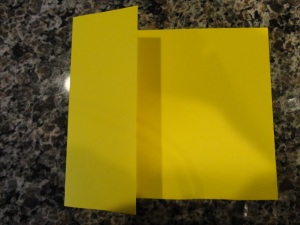
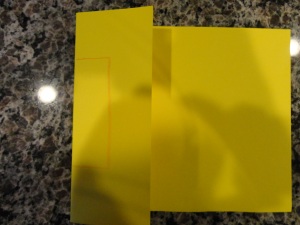
- Fold each of the eight pieces of cardstock in half to form a card. Take the front part of the card and fold it in half towards the inside of the card. (see photos)
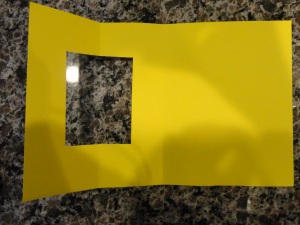
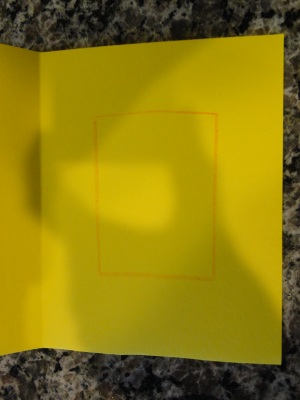
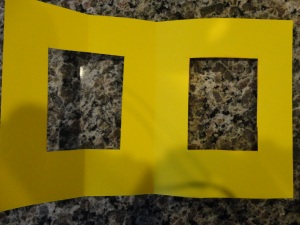
- Draw half of a square on the front piece of the cardstock, along the center fold. Make sure the side of the square is facing away from the fold. Keeping the card folded, cut out the square. Set the square aside for now. (see photos)
- Open up the front part of the card and trace the full square onto the back of the card. Carefully cut out this square. (see photos).
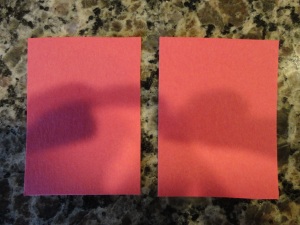
- Take the square you set aside before and trace it two times on one of the small pieces of colored cardstock. Make sure that it is a different color than the large piece of cardstock. Cut out the two squares. (see photos)
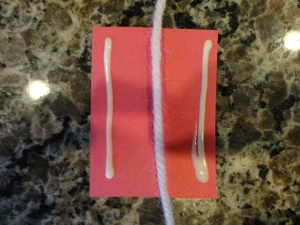
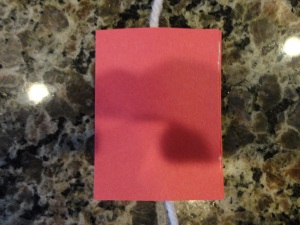
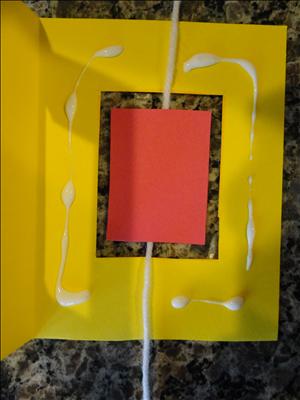
- Cut a six inch piece of ribbon, yarn, or string and glue the center of it to the center of the square. Glue the other square on top. (see photos)
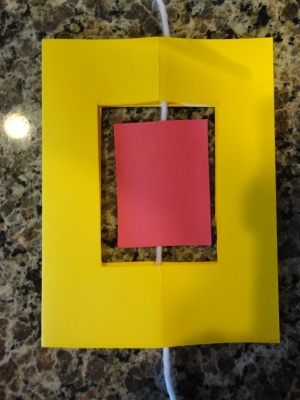
- Glue one end of the yarn to the top of the card and one end of the yarn to the bottom end of the card, making sure that the square lines up in the center of the card. Place a thin line of glue along the outer edge of the card and seal. Allow the glue to dry. (see photos)
- Repeat the above steps with a circle, rectangle, oval, diamond, triangle, octagon, parallelogram, and any other shapes you wish to teach your child. (see photos)
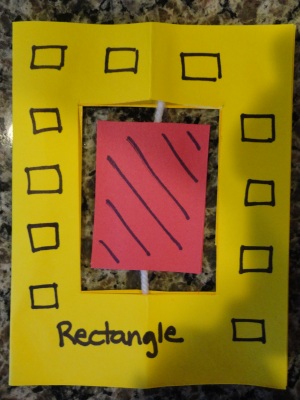
- On the bottom or on one side of the rotating shape, write the name of the shape. If you would like to teach your child colors as well, you may also write the color of the cardstock (make sure to use a different color of cardstock for each shape!). (see photos)
- Let your child decorate the shapes with markers or crayons. (see photos)
- Your shapes are now ready to use. Practice identifying the different shapes and then bring them with you in the car and find the shapes wherever you go!
|
|


