- 132,906 Visits
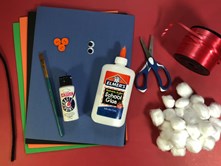
What You'll Need
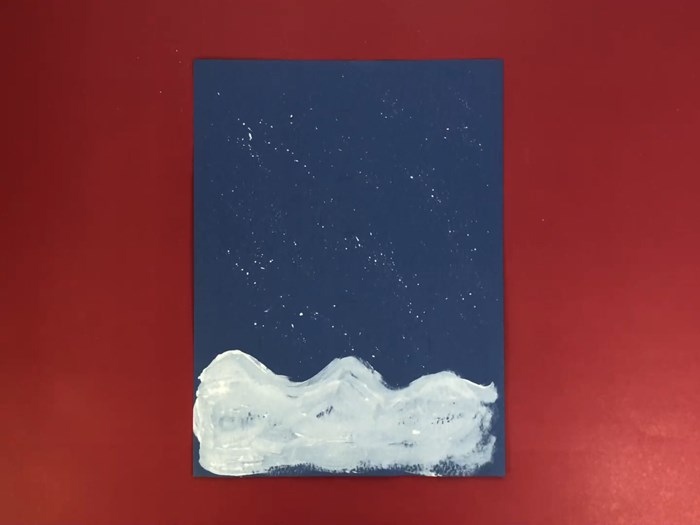
STEP 1
Use white 3-D paint to add dots of snow to the background of your picture.
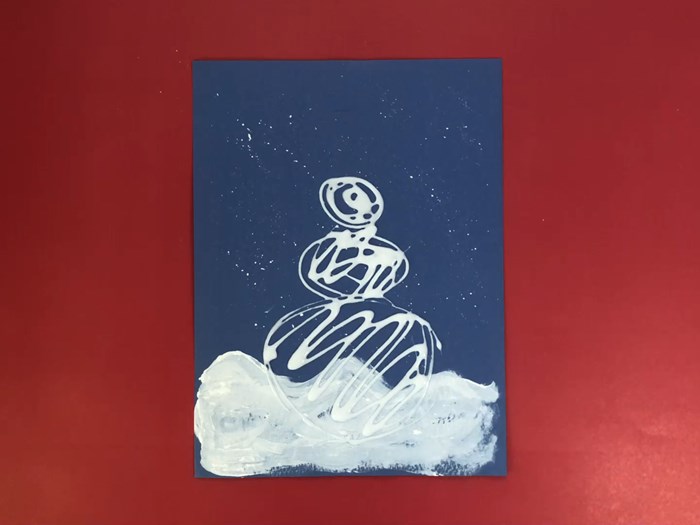
STEP 2
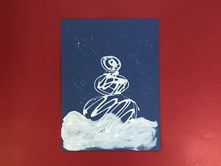
Use the glue to "draw" three circles on the blue construction paper as an outline of your snowman. Fill the circles in with glue.
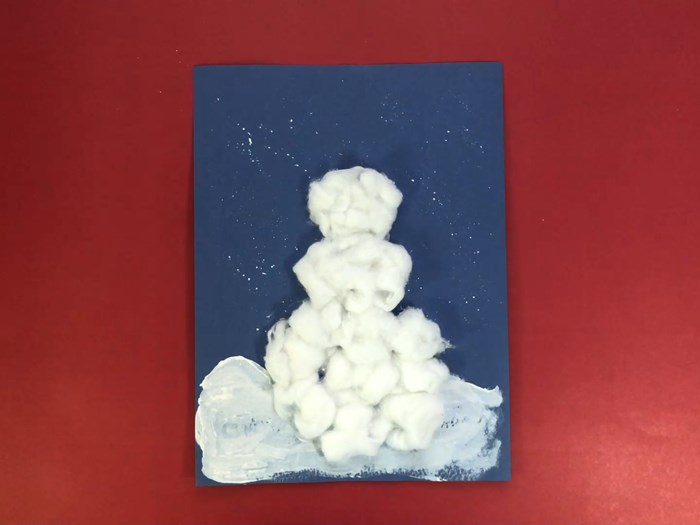
STEP 3
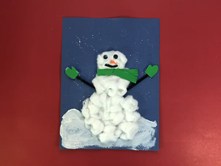
Stick cotton balls in the glue circles to form your snowman.
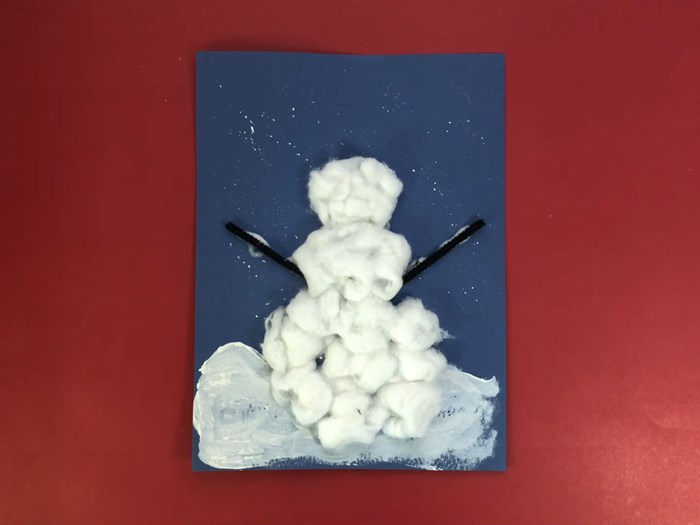
STEP 4
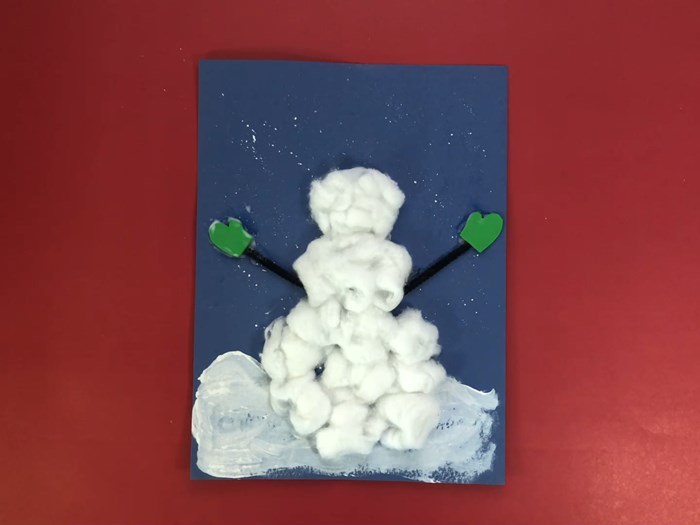
Cut a pipe cleaner in half and glue them on either side of the middle circle.
STEP 5
Cut a pair of gloves out of the green felt for the snowman's mittens and glue over the pipe cleaners.
STEP 6
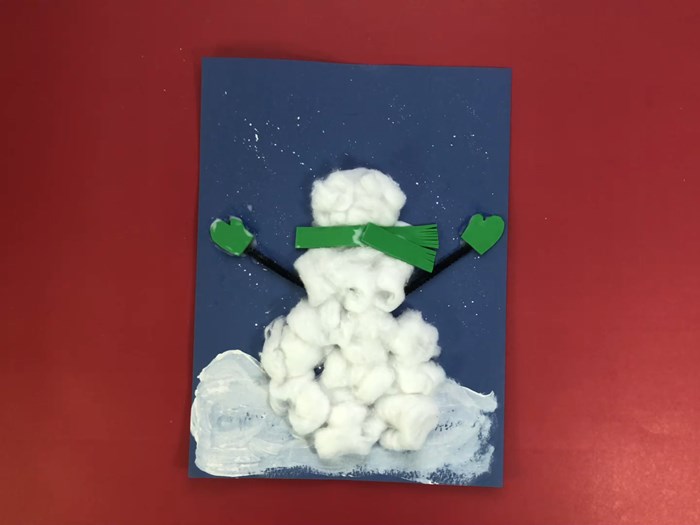
Cut a longer and shorter rectangle out of green felt. Glue the longer rectangle over the "neck" of the snowman. Glue the shorter rectangle over the longer one at a slight angle so that it looks like the scarf has been wrapped around the snowman. Cut slits in the ends of the green rectangles.
STEP 7
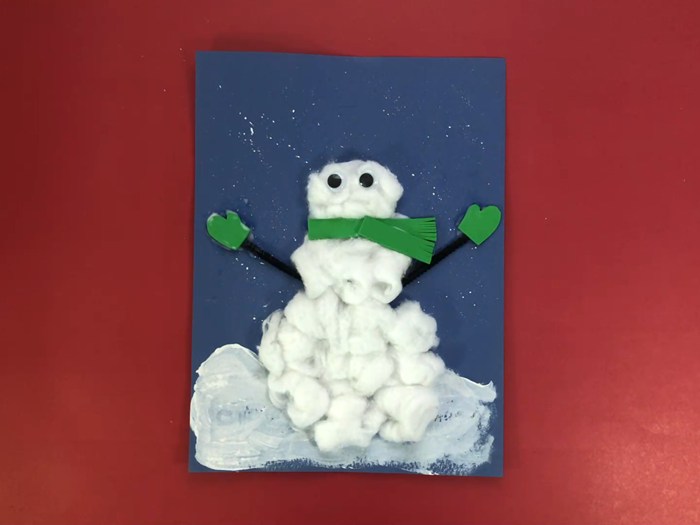
Glue two eyes onto the snowman.
STEP 8
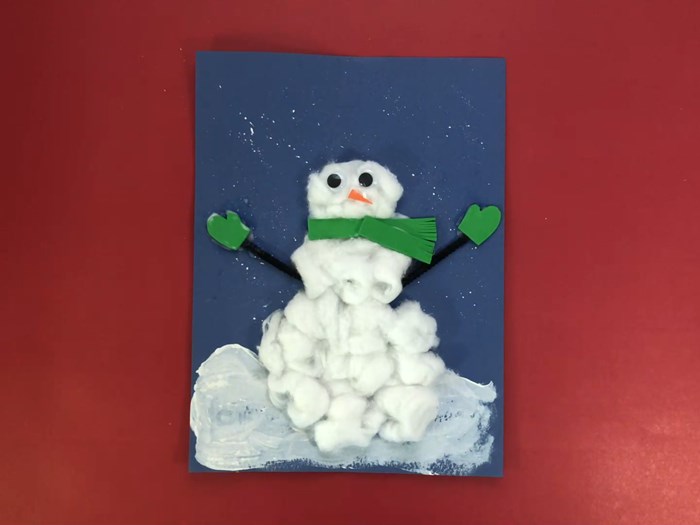
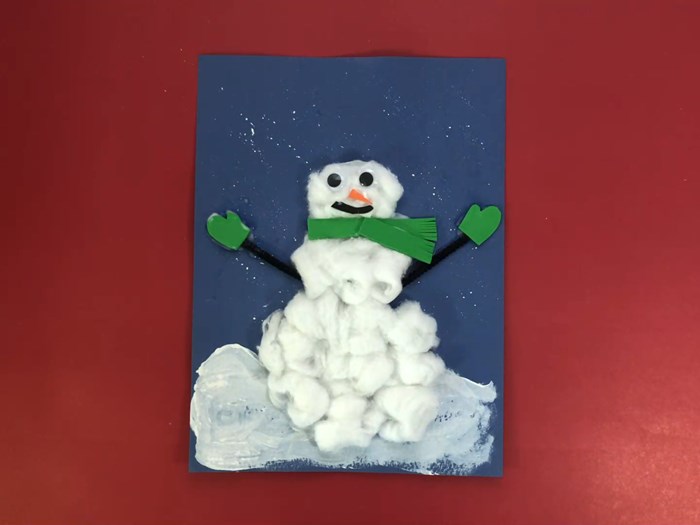
Cut a small triangle out of orange felt and glue into place under the eyes.
STEP 9
Cut a "C" shape out of black felt and glue into place under the nose as the snowman's mouth.
STEP 10
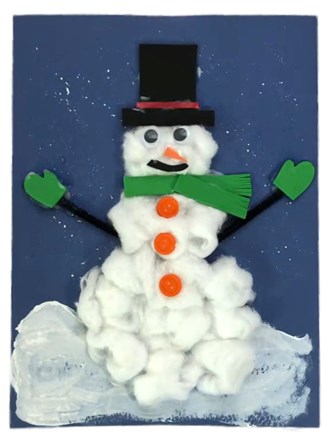
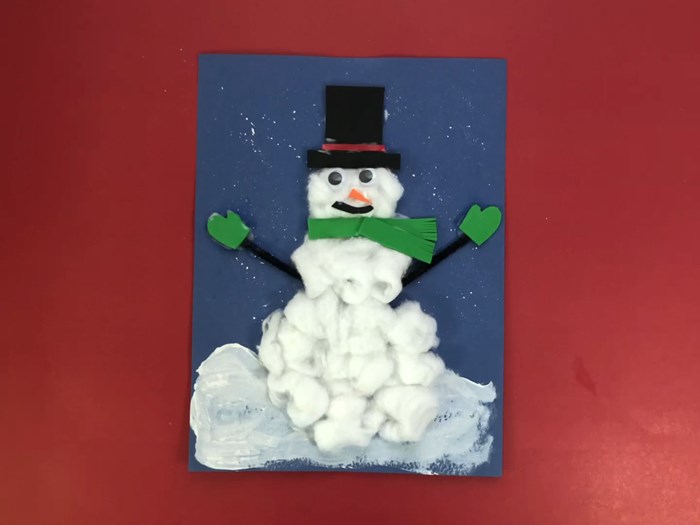
Cut a hat out of black felt and glue to the top of the snowman's head. Add a strip of red ribbon in the middle of the hat.
STEP 11
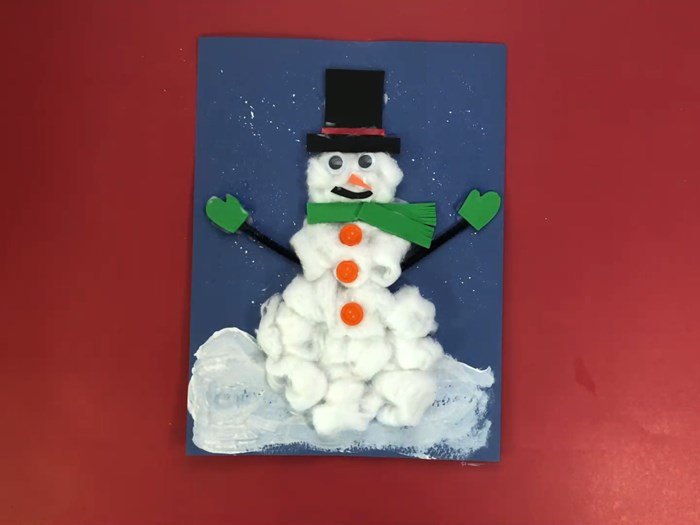
Glue on 3 buttons.

