Advertisement
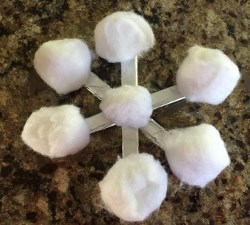
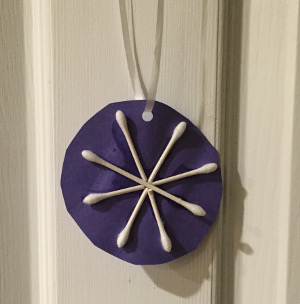
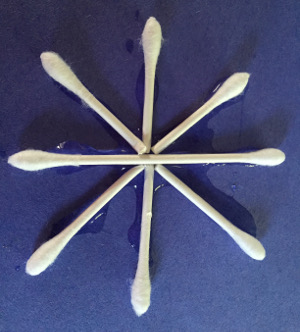
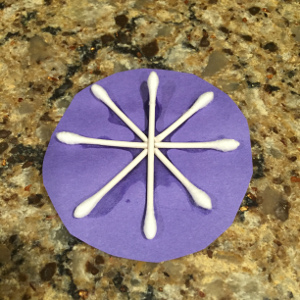
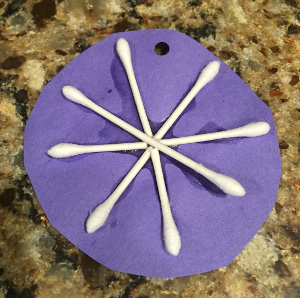
Q Tip Snowflake Craft
Explain to children that no two snowflakes are alike. Give children both full and cut q tips so they can create their very own, unique snowflake. Younger children may need help with the glue so you may have them create their own snowflake before gluing it onto the paper. Punch a hole on top, loop some yarn through and hang them up to create your own classroom snowfall!!
Advertisement
|
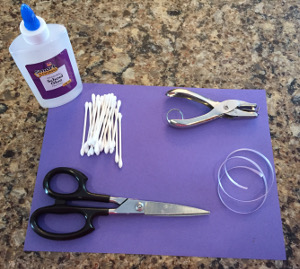
What you'll need:
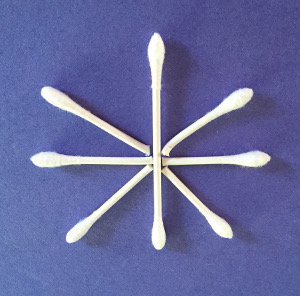
How to make your q-tip snowflake craft
|

|