Advertisement
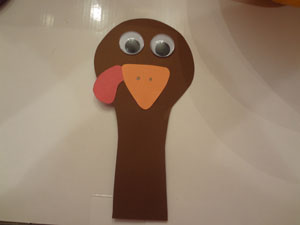
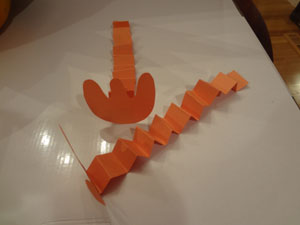
Turkey Pumpkin Thanksgiving Centerpiece Craft
Every child wants to feel included in the festivities at Thanksgiving. Put them to work by making the centerpiece for the table! This craft is fun and easy for any child to make. They will have fun and remain busy while you are tending to company or preparing the home for your big meal!
|
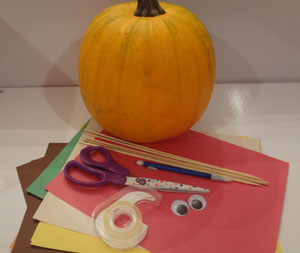
What you'll need:
|


|
Similar Worksheets, Activities, and More
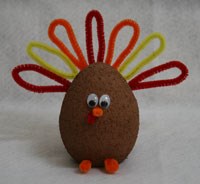
Thanksgiving Styrofoam Turkey Craft
PreK–K
Thanksgiving
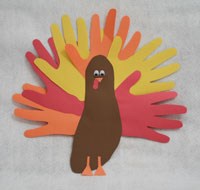
Thanksgiving Handprint Turkey Craft
PreK–K
Thanksgiving
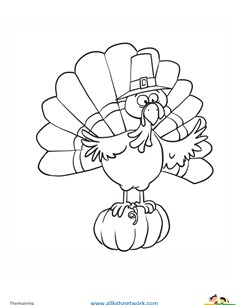
Turkey on Pumpkin Coloring Page
PreK–1st
Thanksgiving
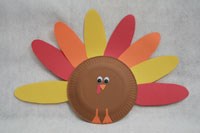
Thanksgiving Paper Plate Turkey Craft
PreK–K
Science
Thanksgiving
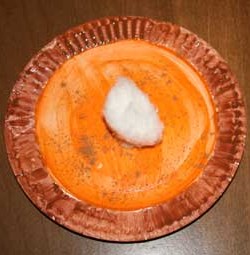
Pumpkin Pie Craft
PreK–K
Thanksgiving
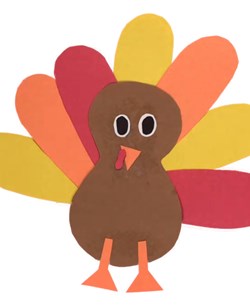
Paper Turkey Craft
PreK–K
Thanksgiving