Advertisement
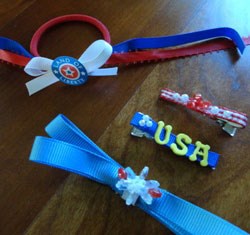
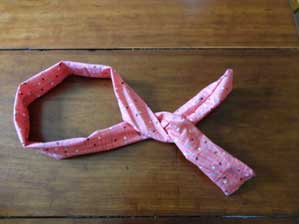
Trendy Hair Wrap Craft
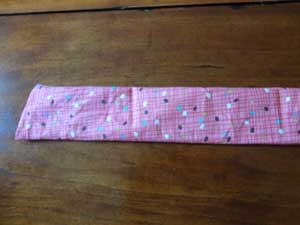
Hair wraps are the latest trend this summer. They keep you cool, keep the hair out of your face, and can be matched to any outfit. This craft is perfect for the beginning seamstress, allowing for practice threading a needle and creating a line of straight stitches. Create this simple and inexpensive hair wrap with just a few materials!
Advertisement
|
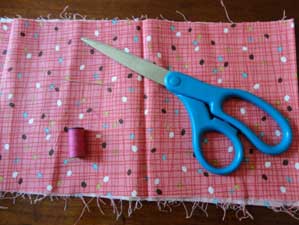
What you'll need:
|

|