Advertisement
The Seasons of a Tree Paper Craft
17,438 Visits
Help youngsters understand the changing seasons with the Seasons of a Tree craft. Using paper plates, crayons, and a stapler, craft a unique book that will highlight the differences a tree experiences as the seasons change from winter, to spring, to fall, culminating in the beautiful display of leaves we see showcased every fall!
Grade:
Season:
Content Types:
Advertisement
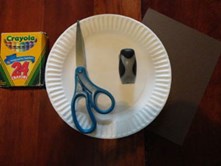

What You'll Need
STEP 1
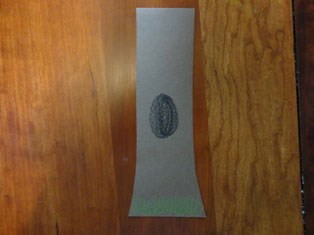
With adult supervision, using scissors to cut out a tree trunk from the brown cardstock. Decorate the tree trunk with crayons. Set aside for now. (see photos)
STEP 2
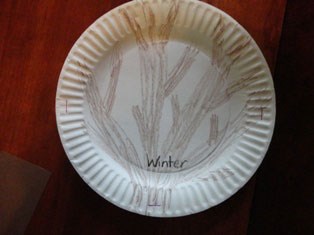
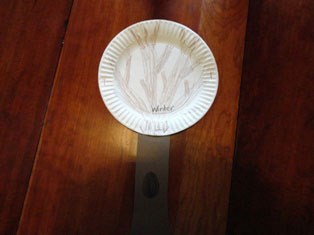
Take one of the paper plates and draw bare branches on it to represent winter. Color with crayons. Write the word "Winter" on the paper plate. Set aside for now. (see photos)
STEP 3
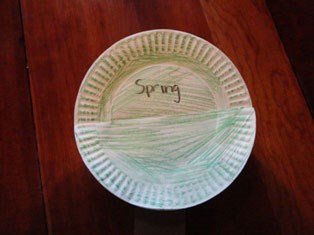
Take another paper plate and color it green to represent spring. Write the word "spring" along the top of the paper plate. Set aside for now. (see photos)
STEP 4
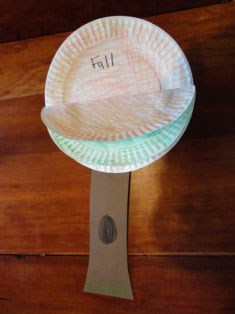
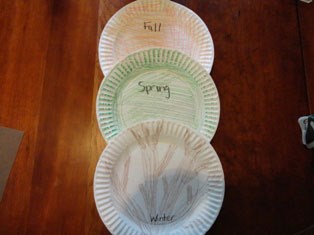
Take the last paper plate and decorate it with red, yellow, and orange crayons to represent fall. Write the word "Fall" along the top of the paper plate. (see photos)
STEP 5
Place the spring paper plate on top of the fall paper plate. Set the winter paper plate on top of the spring paper plate. Staple the plates together along the rim of the bottom half. Staple the tree trunk to the bottom of the back of the fall paper plate. (see photos)
STEP 6
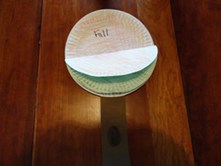
Fold the winter paper plate in half and color the back of it the same color green as the spring paper plate. (see photos)

STEP 7
Fold the spring paper plate in half and color the back of it with red, yellow, and orange crayons to match the fall paper plate.

STEP 8
Your Seasons of a Tree is now complete. Look outside your window to see what season the trees are in now!