Advertisement
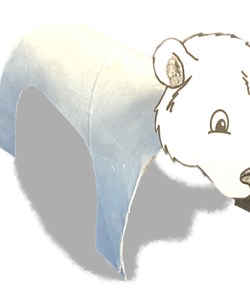
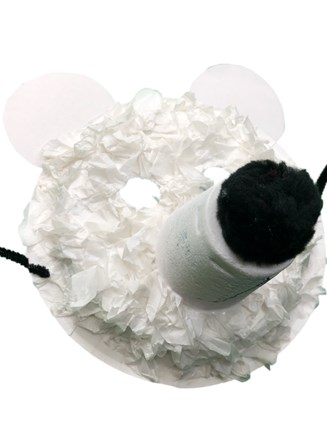
Paper Plate Polar Bear Mask
2,707 Visits
Kids will have a blast making this fun polar bear mask this winter. All you need are some easy to find craft supplies like paper plates, printer paper, glue and a few other things that are sure to be lying around. Follow the simple instructions below to create yours and when complete, put it on and have some fun this winter season!
Grade:
Season:
Content Types:
Advertisement
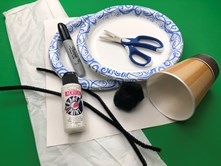
What You'll Need
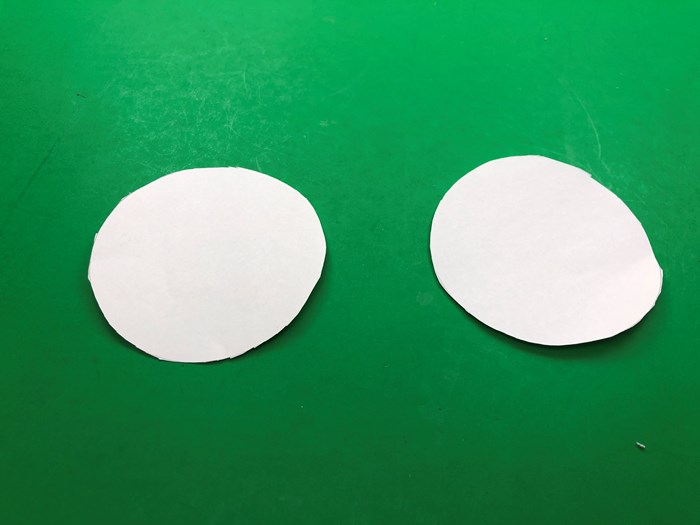
STEP 1
First, use the bottom of the cup to draw 2 circles for the ears and cut them out.
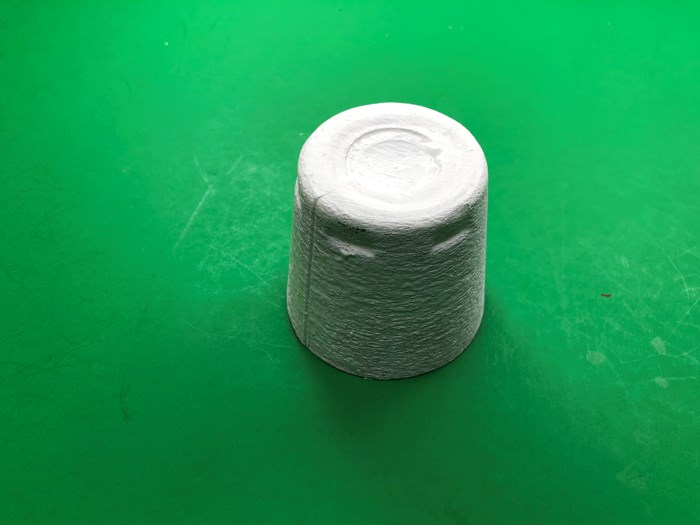
STEP 2
Then cut the cup so that it is shorter. Paint the outside of the cup white, it may need to dry and have a second coat applied.
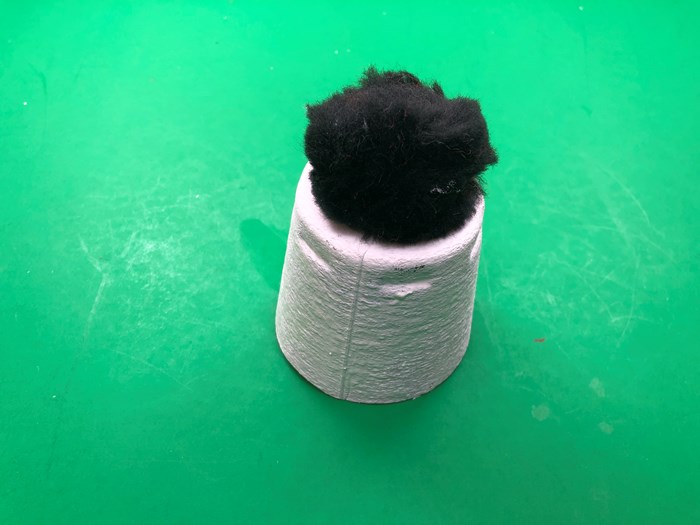
STEP 3
Once the cup had dried glue the black pom-pom to the bottom of the cup.
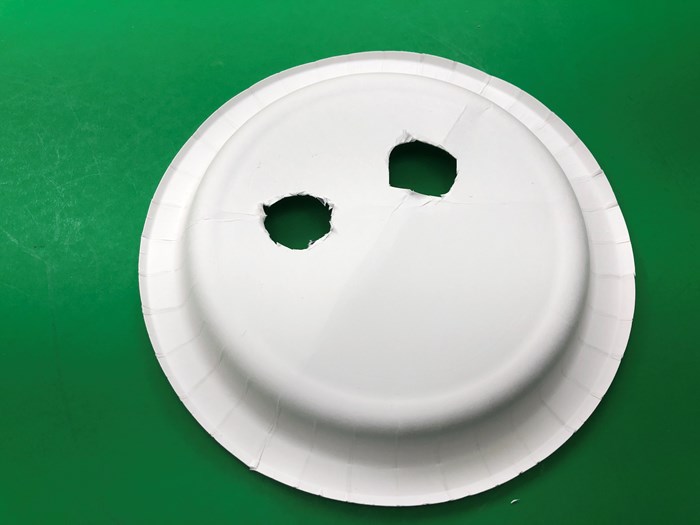
STEP 4
Then use the black marker to draw 2 eye hold on the paper plate and cut them out.
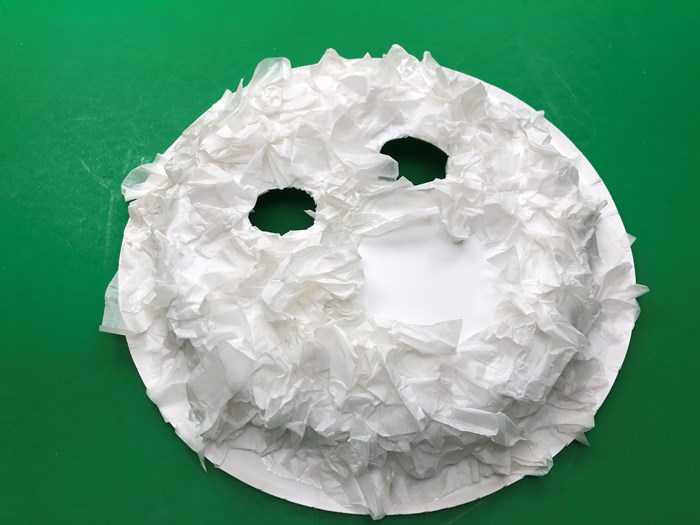
STEP 5
Cut the white tissue paper into smaller pieces and scrunch them up and glue them on the bottom of the paper plate, you can leave space for the cup nose.
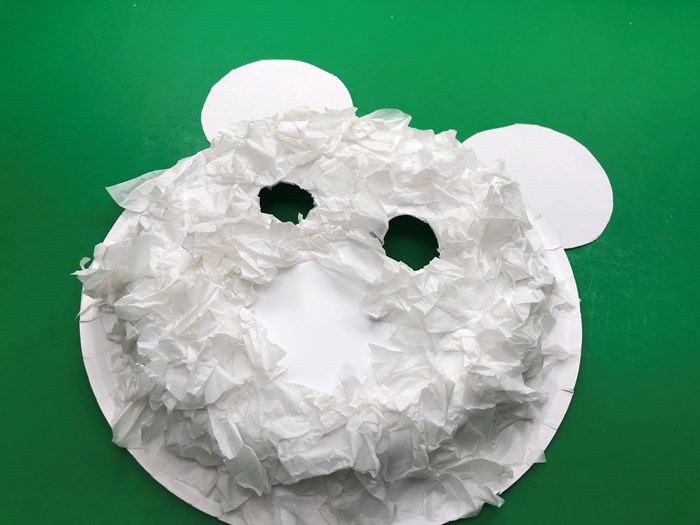
STEP 6
Glue the ears on to the top of the paper plate and let them dry.
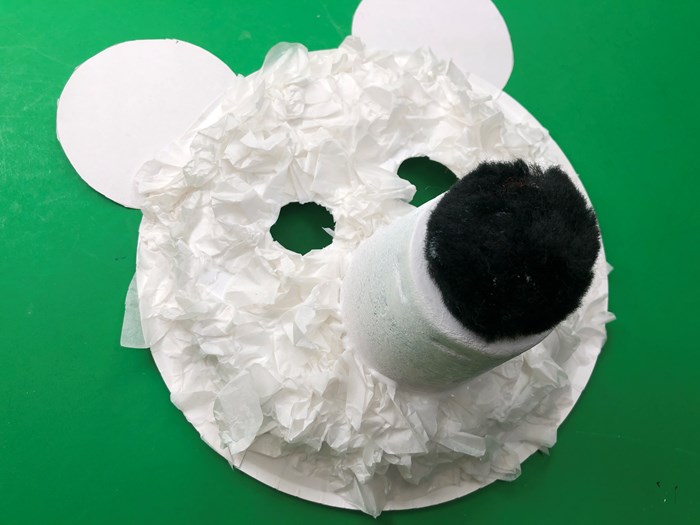
STEP 7
While the ears are drying you can glue the nose onto the paper plate underneath the eye holes, be sure that the nose has enough time to dry so that it is secure.
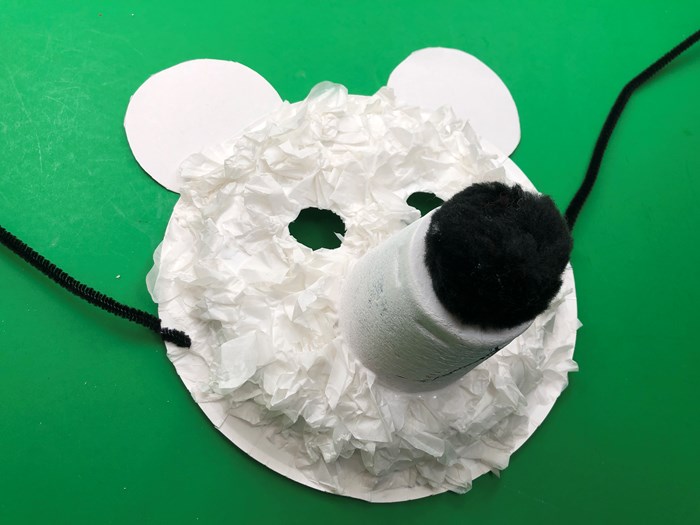
STEP 8
Finally, use either 2 pipe cleaners or a string to create a strap so that you can wear the polar bear mask .