Advertisement
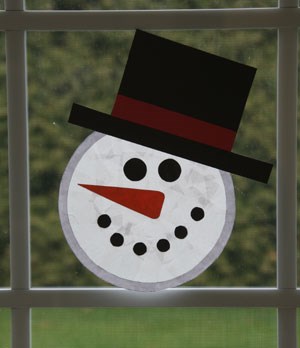
Sun Catcher Snowman Craft
42,439 Visits
This smiling snowman sun catcher craft is a wonderful winter craft for kids. It looks amazing hanging in the window on a sunny winter day and turns out great every time. With a bit of prep work to cut out some of the pieces, even young children enjoy making this snowman craft. Contact paper, tissue paper and construction paper are all you need to turn a cold winter afternoon into a cozy craft time with your kids.
Grade:
Season:
Content Types:
Advertisement
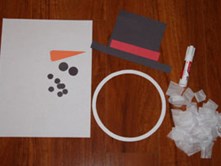
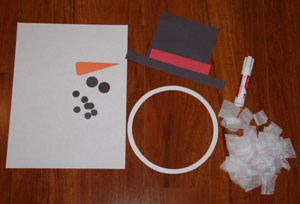
What You'll Need
STEP 1
Print our template and cut the pieces out. For the large circle, cut out the center piece and discard it.
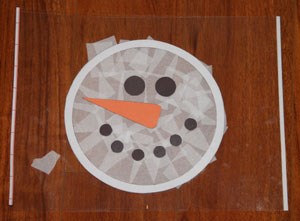
STEP 2
Peel the backing off the contact paper and stick the remaining piece of the large circle down.
STEP 3
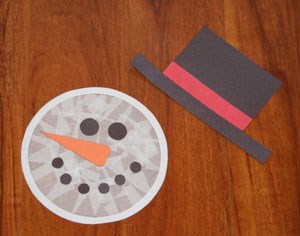
Trace the remaining pieces onto construction paper and cut them out. The nose is orange, the smaller circles are black, the hat is black and the rectangle for the hat is red.

STEP 4
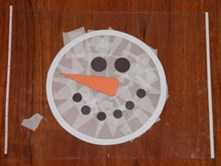
Once your pieces are cut out, place them onto the contact paper (inside of the white circle outline) to create the snowman's face.

STEP 5
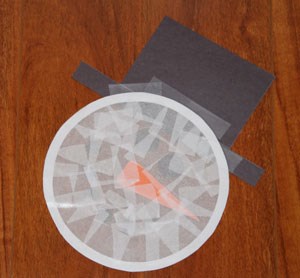
Cut a couple of sheets of white tissue paper into one inch squares. Lay the tissue paper squares on top of the snowman's facial features. Overlap the pieces to get the best effect and make sure to fill in the whole circle.
STEP 6
Place a second piece of contact paper over the back of the project so that you essentially sandwich the tissue paper between the two pieces of contact paper. Press this firmly down.
STEP 7
Use scissors to cut away the excess contact paper.
STEP 8
Glue the red band onto the hat. Use scotch tape to tape the hat onto the snowman and hang your finished product in the window.

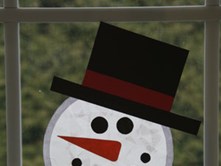
STEP 9
Done! Enjoy your new Sun Catcher Snowman Craft!