Advertisement
Sun Catcher Craft
99,067 Visits
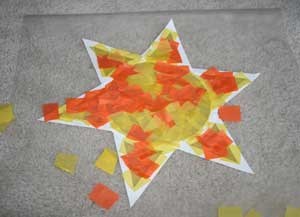
It's been a very rainy start to our summer season this year, so we decided to help Mother Nature out and make our own sun to hang in the window. With a little contact paper and tissue paper we made our very own sun shaped sun catcher craft! This beautiful, simple summer craft looks perfect hanging in our window, as we know it will in yours too.
Grade:
Season:
Content Types:
Advertisement
What You'll Need
STEP 1
Print our template and print out the pieces. Cut the pieces out. You need to make 6 triangles. Cut the centers out of the circle and the triangles as marked.
STEP 2
Cut a piece of contact paper out large enough to stick the whole sun (put together) to.

STEP 3
Peel the backing off the contact paper. Place the circle on the sticky side. Put the triangles on the contact paper, spacing them around the circle.

STEP 4
Cut the tissue paper into 1 inch wide strips, and then into 1 inch cubes (this doesn't have to be exact!).
STEP 5
Fill in the outline pieces by sticking tissue paper to the contact paper. Overlap the pieces so there aren't any holes. Don't worry about pieces that hang outside of the outline - those will be cut off in the end.
STEP 6
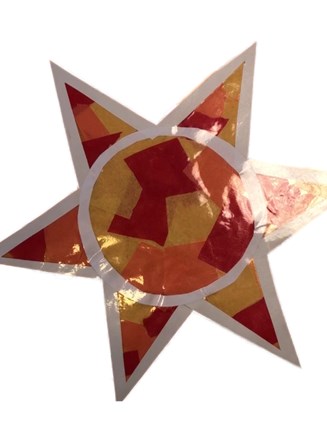
Once the sun is finished, cut a second piece of contact paper that is as big as the first piece. Peel the backing paper off and lay it (sticky side down) over the finished sun.

STEP 7
Finally, cut off the excess contact paper and hang your sun up on a window.