Advertisement
Paper Bag Scarecrow Craft
302,073 Visits
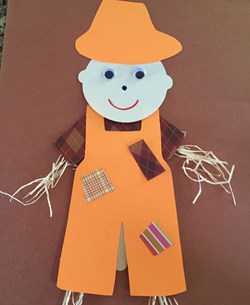
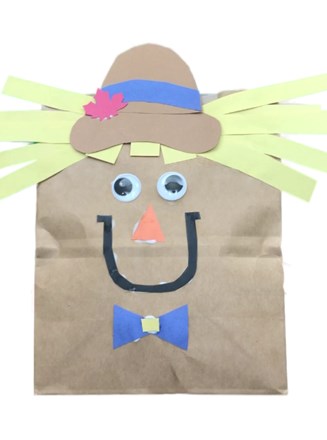
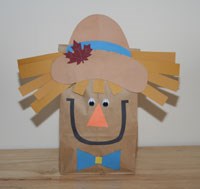
Create a scarecrow with your kids with no messy hay! This happy paper
bag scarecrow craft makes the perfect fall decoration. He is easy to do
and with some prep work is a great craft for even a toddler to do!
Grade:
Season:
Content Types:
Advertisement
What You'll Need
STEP 1
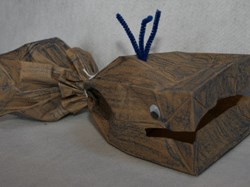
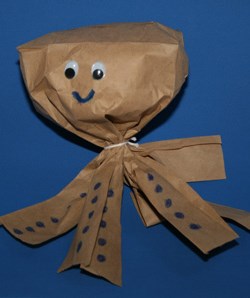
Use the newspaper to stuff your brown paper lunch bag. Be
careful not to stuff it too full! Tape the top of the bag closed.
STEP 2
Print out our template above. Cut out the shapes and trace
them on construction paper. The smile is black, the hat is brown,
the hat ribbon and bow are blue, the nose is orange, and the leaf is
red. Cut out all of the pieces.
STEP 3
Cut a few one inch wide strips of yellow construction paper.
STEP 4
Glue the bow onto the bag towards the bottom. Glue the tiny
yellow square in the middle of the bow.
STEP 5
Glue the smile on above the bow. Then glue on the googly eyes
so they are at the same height as the top of the smile. Then glue
the nose in the middle.
STEP 6
Cut the yellow construction paper strips to various lengths and glue
along the top of the bag as hair.
STEP 7
To make the hat, glue the blue strip to the tall rounded portion of
the hat. Then glue the brim of the hat on so that it leaves a bit
of the blue strip exposed, but not all of it exposed. Glue the red
leaf on the side of the hat. Glue that hat onto your scarecrow.
STEP 8
Congratulations, You have finished the Paper Bag Scarecrow Craft