Advertisement
Raining Cloud Craft
127,626 Visits
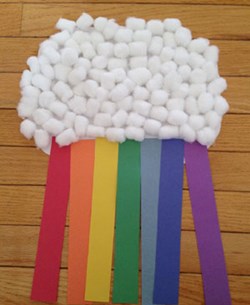
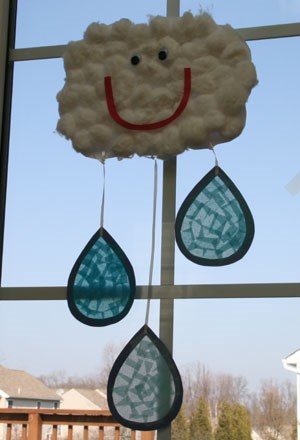
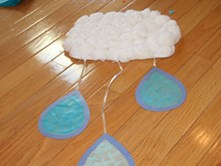
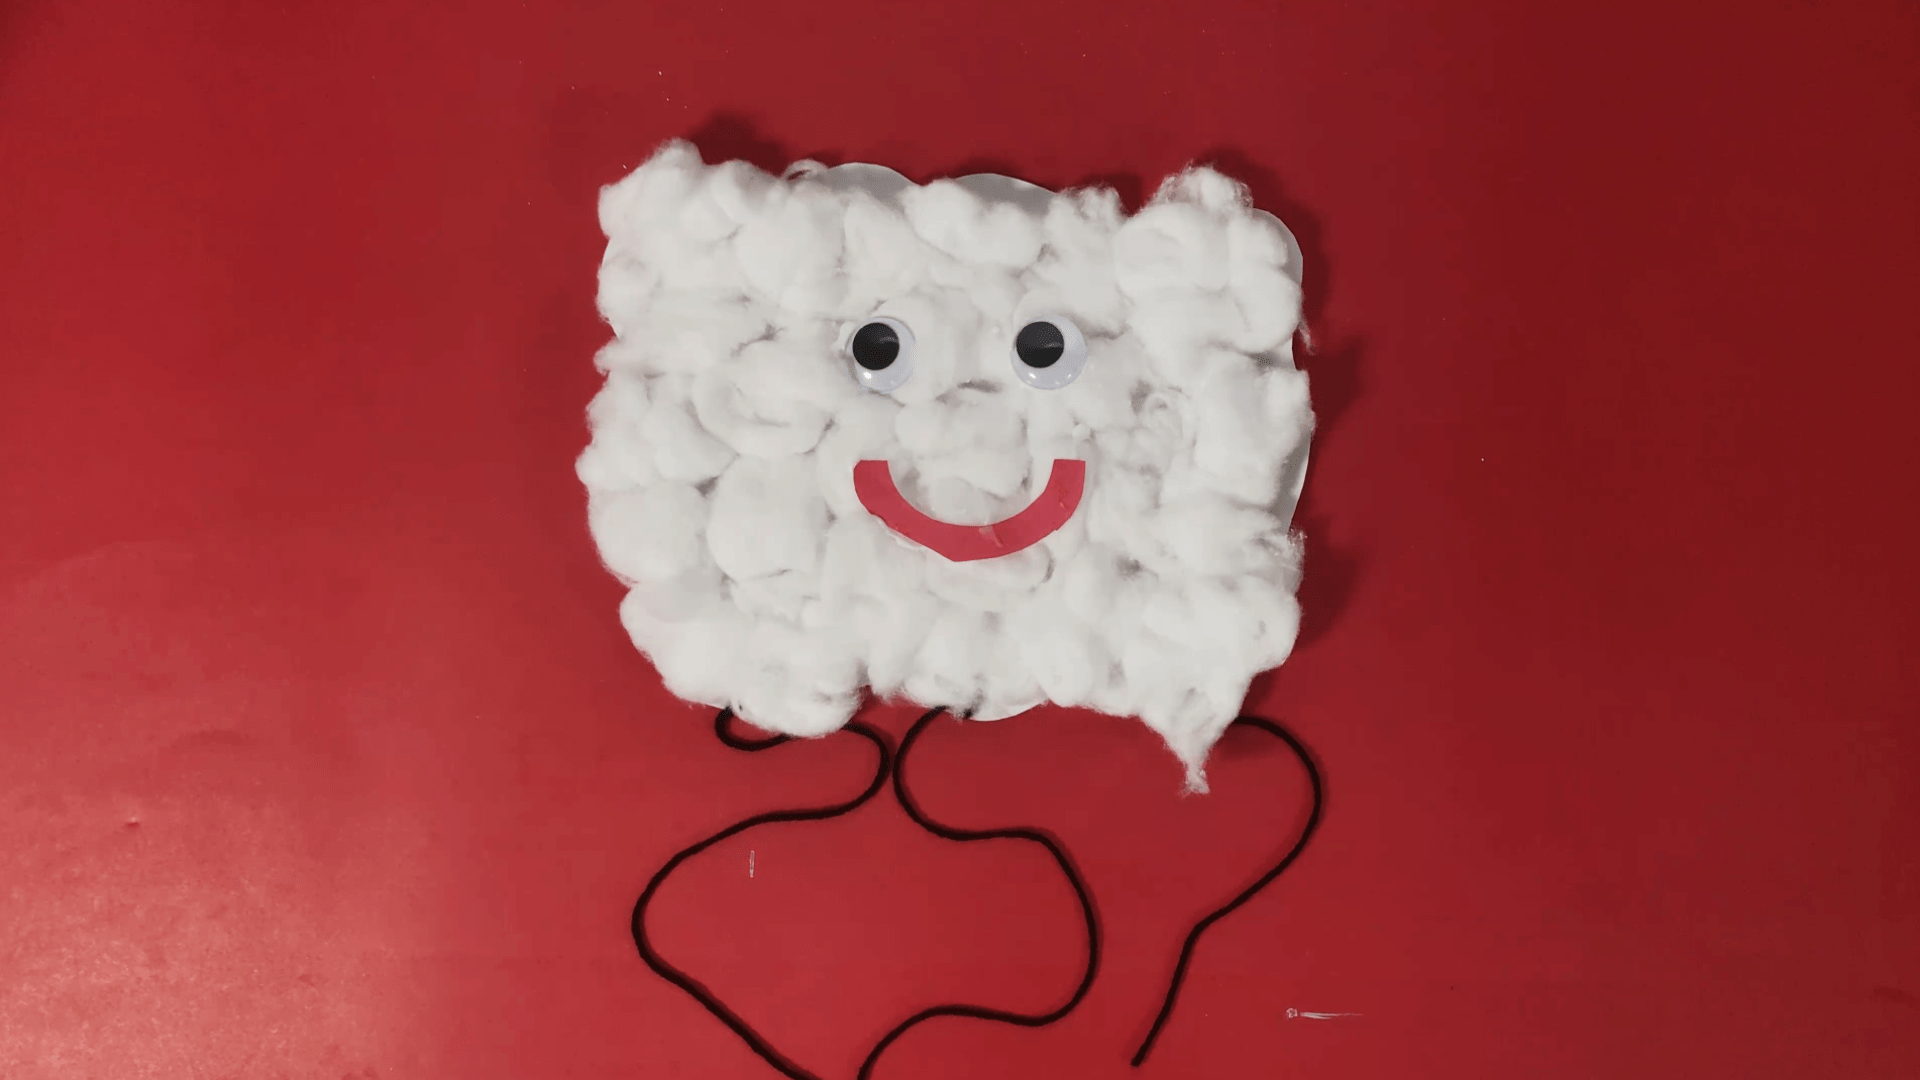
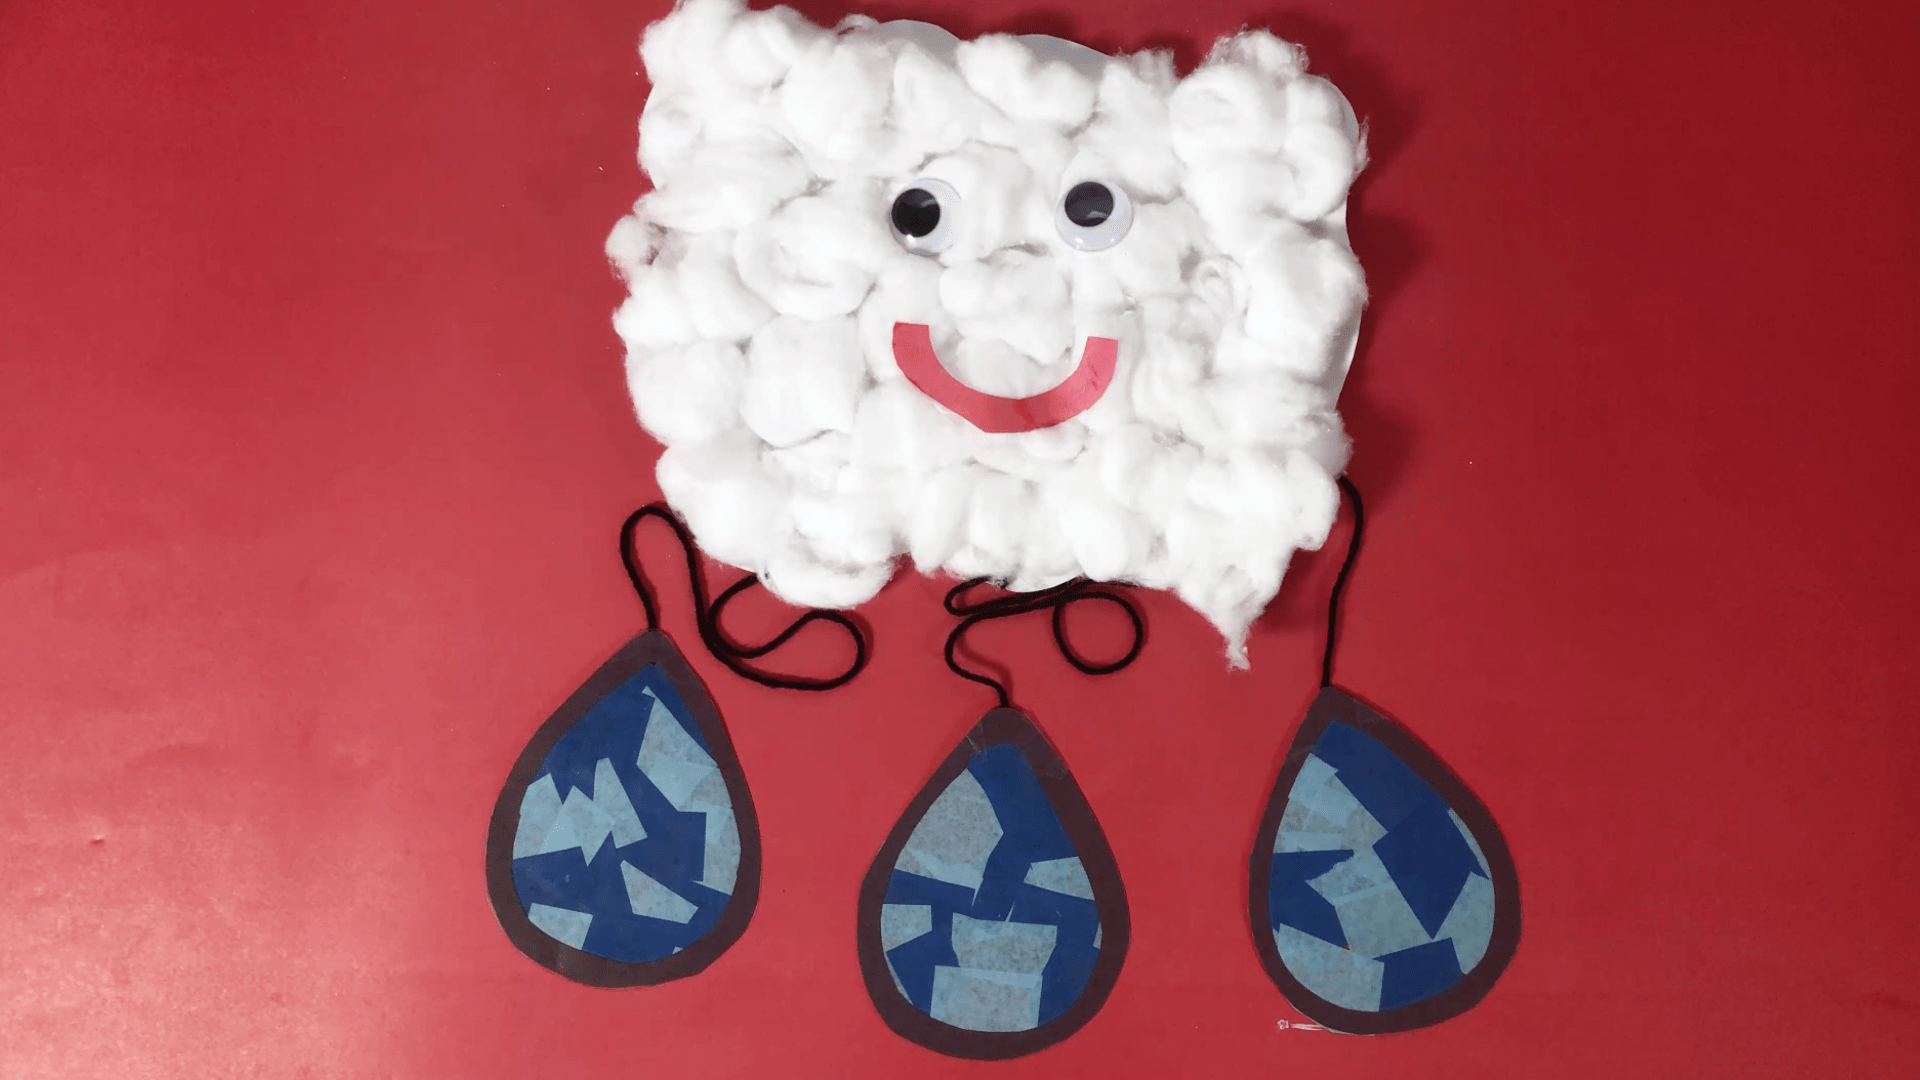
On a rainy spring day what could be more fun than making your own raincloud inside! This cute cloud craft is a great preschool craft. The cloud is made with cotton balls and a construction paper smile. The raindrops are made from tissue paper and contact paper so the light from the window can shine through just like a real raindrop. Our two daughters loved working on this craft together and it is a great spring decoration for our windows too.
Subject:
Grade:
Season:
Content Types:
Advertisement
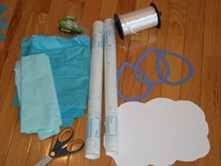
What You'll Need
STEP 1
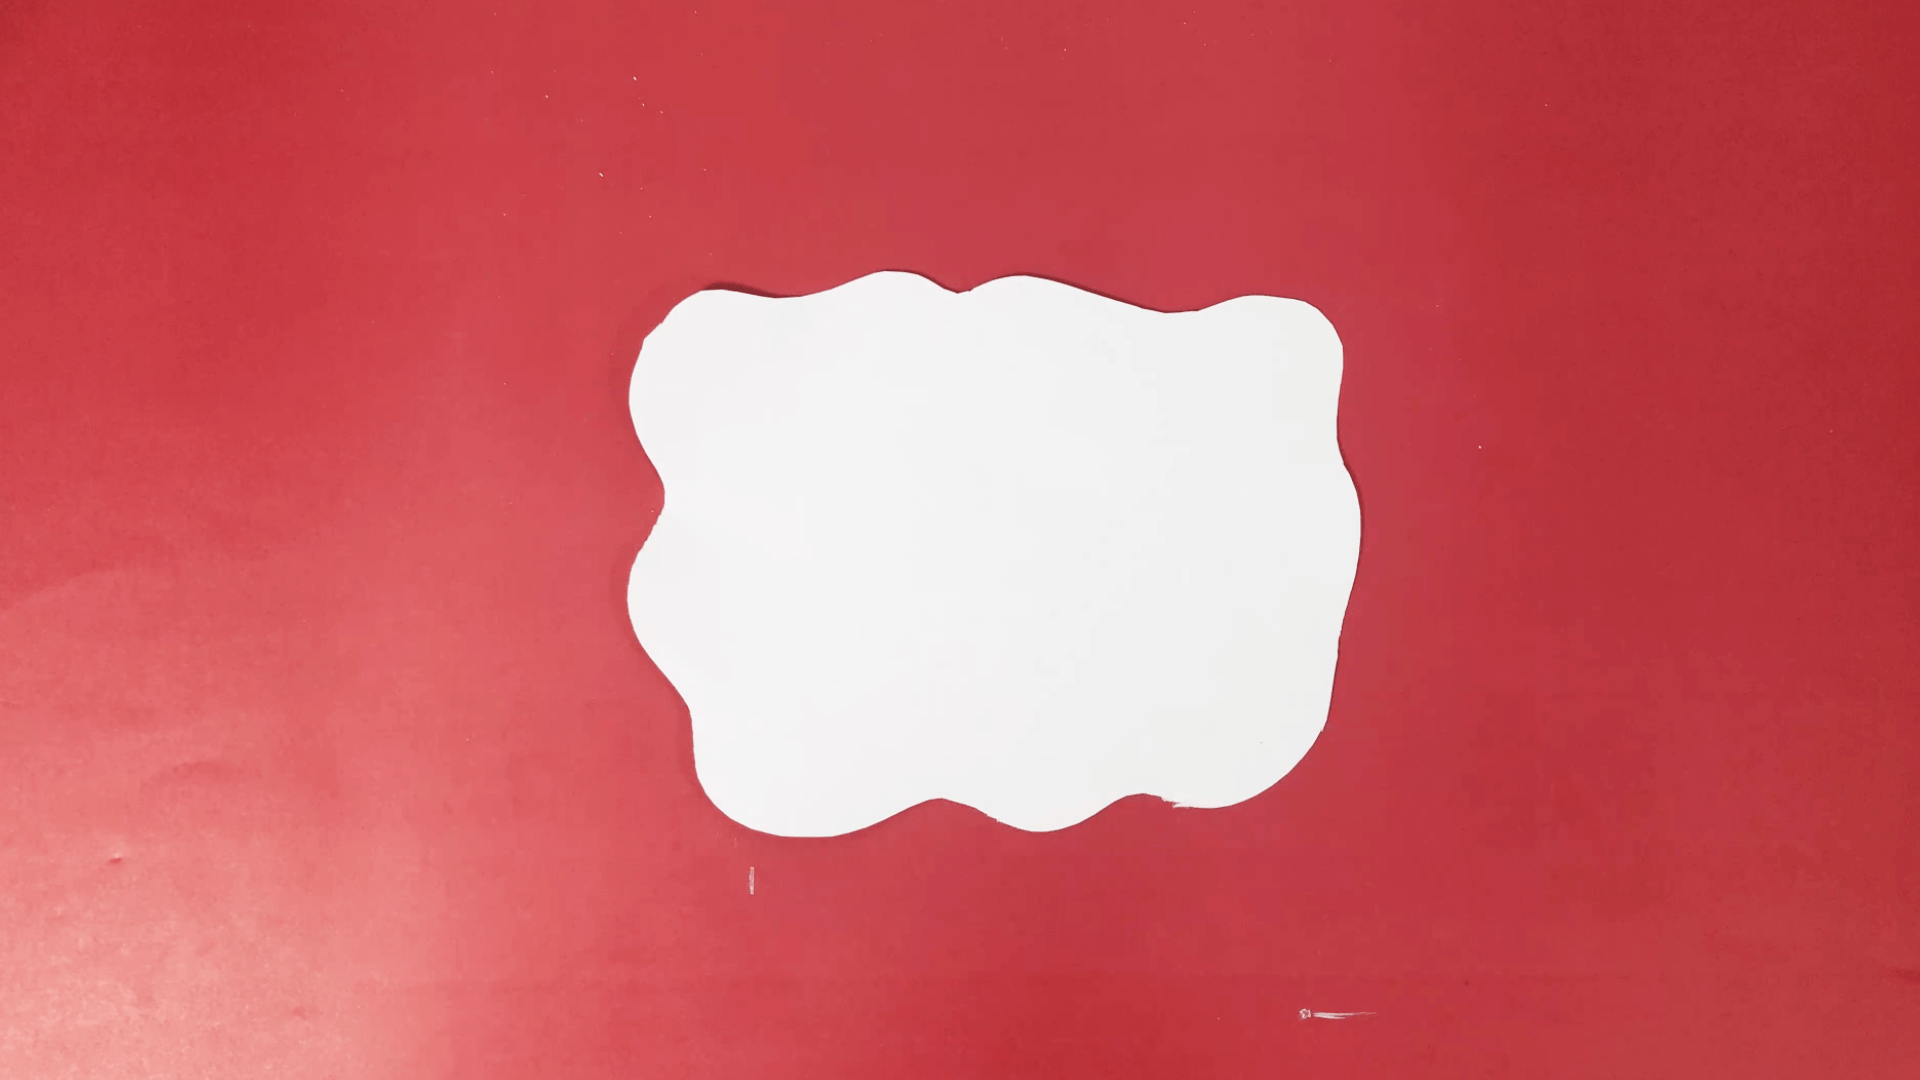
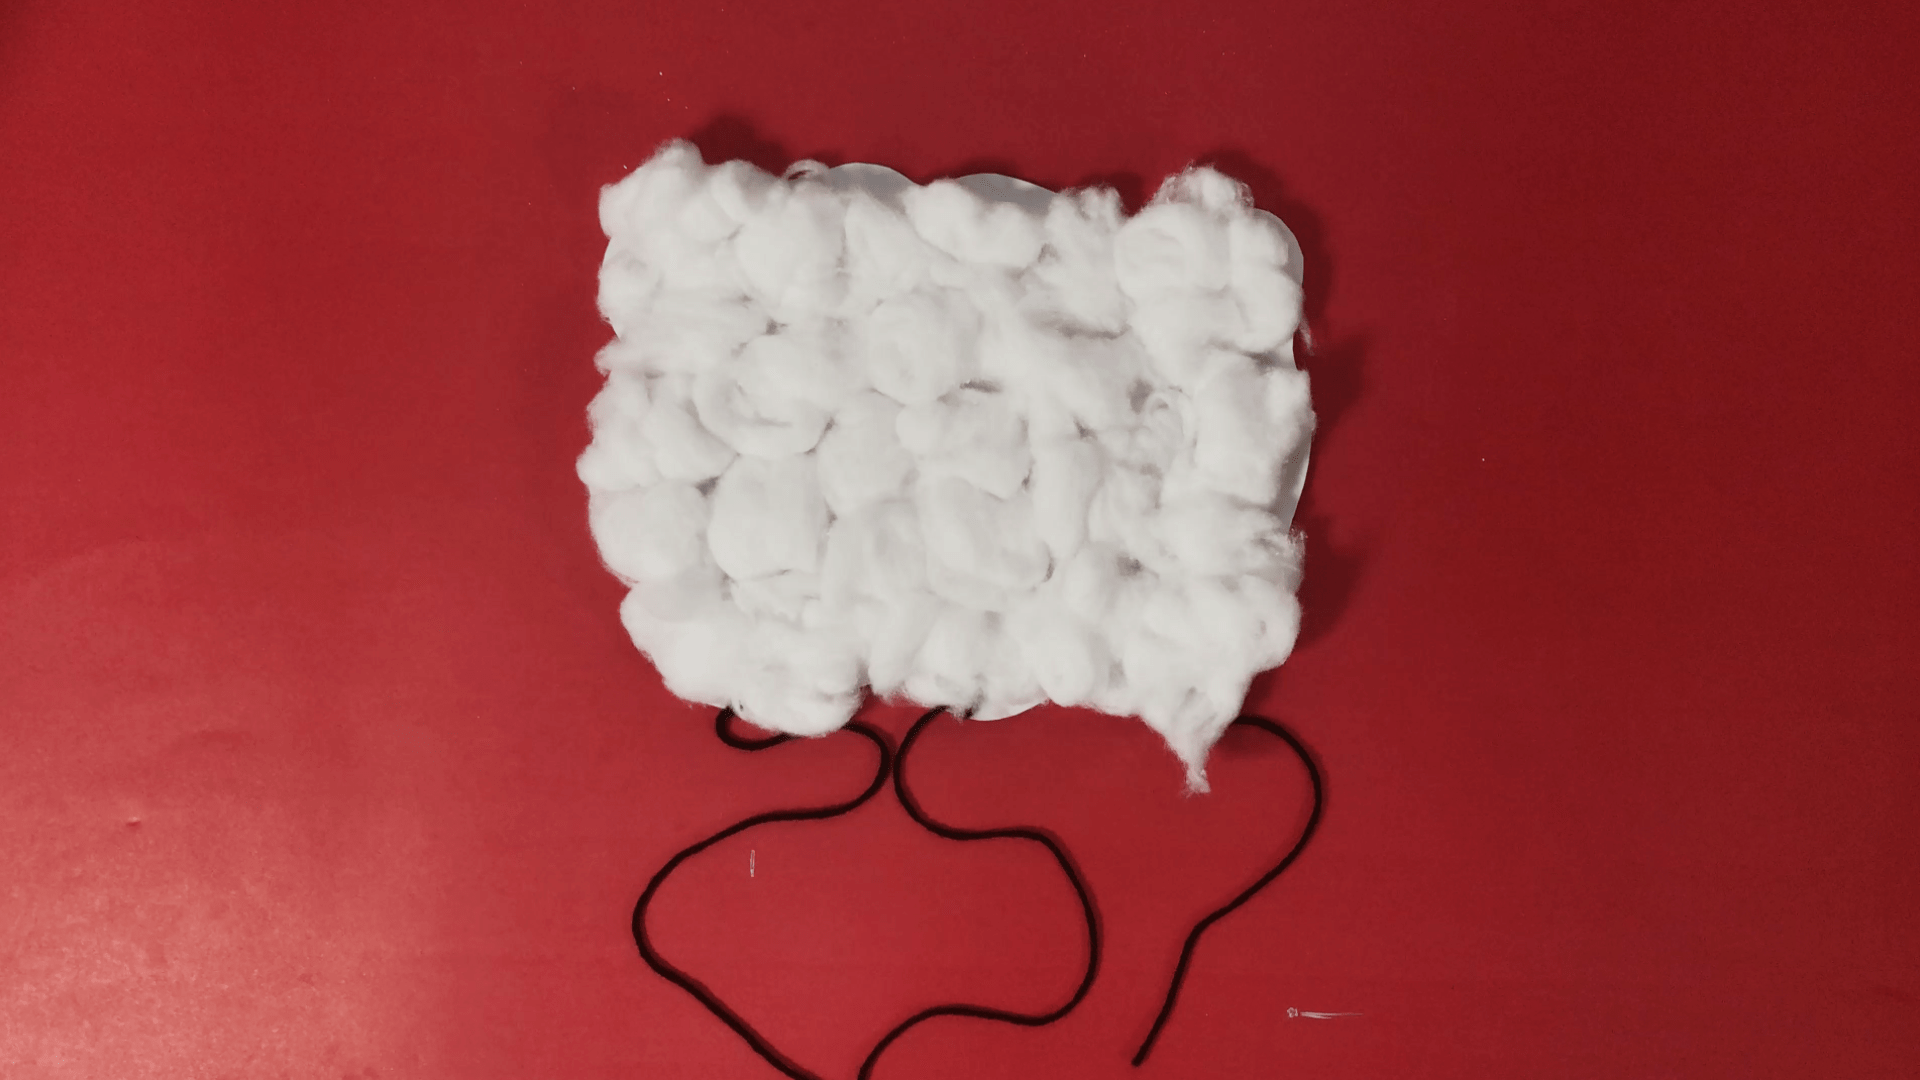
Cut a big cloud shape out of thin cardboard.
STEP 2
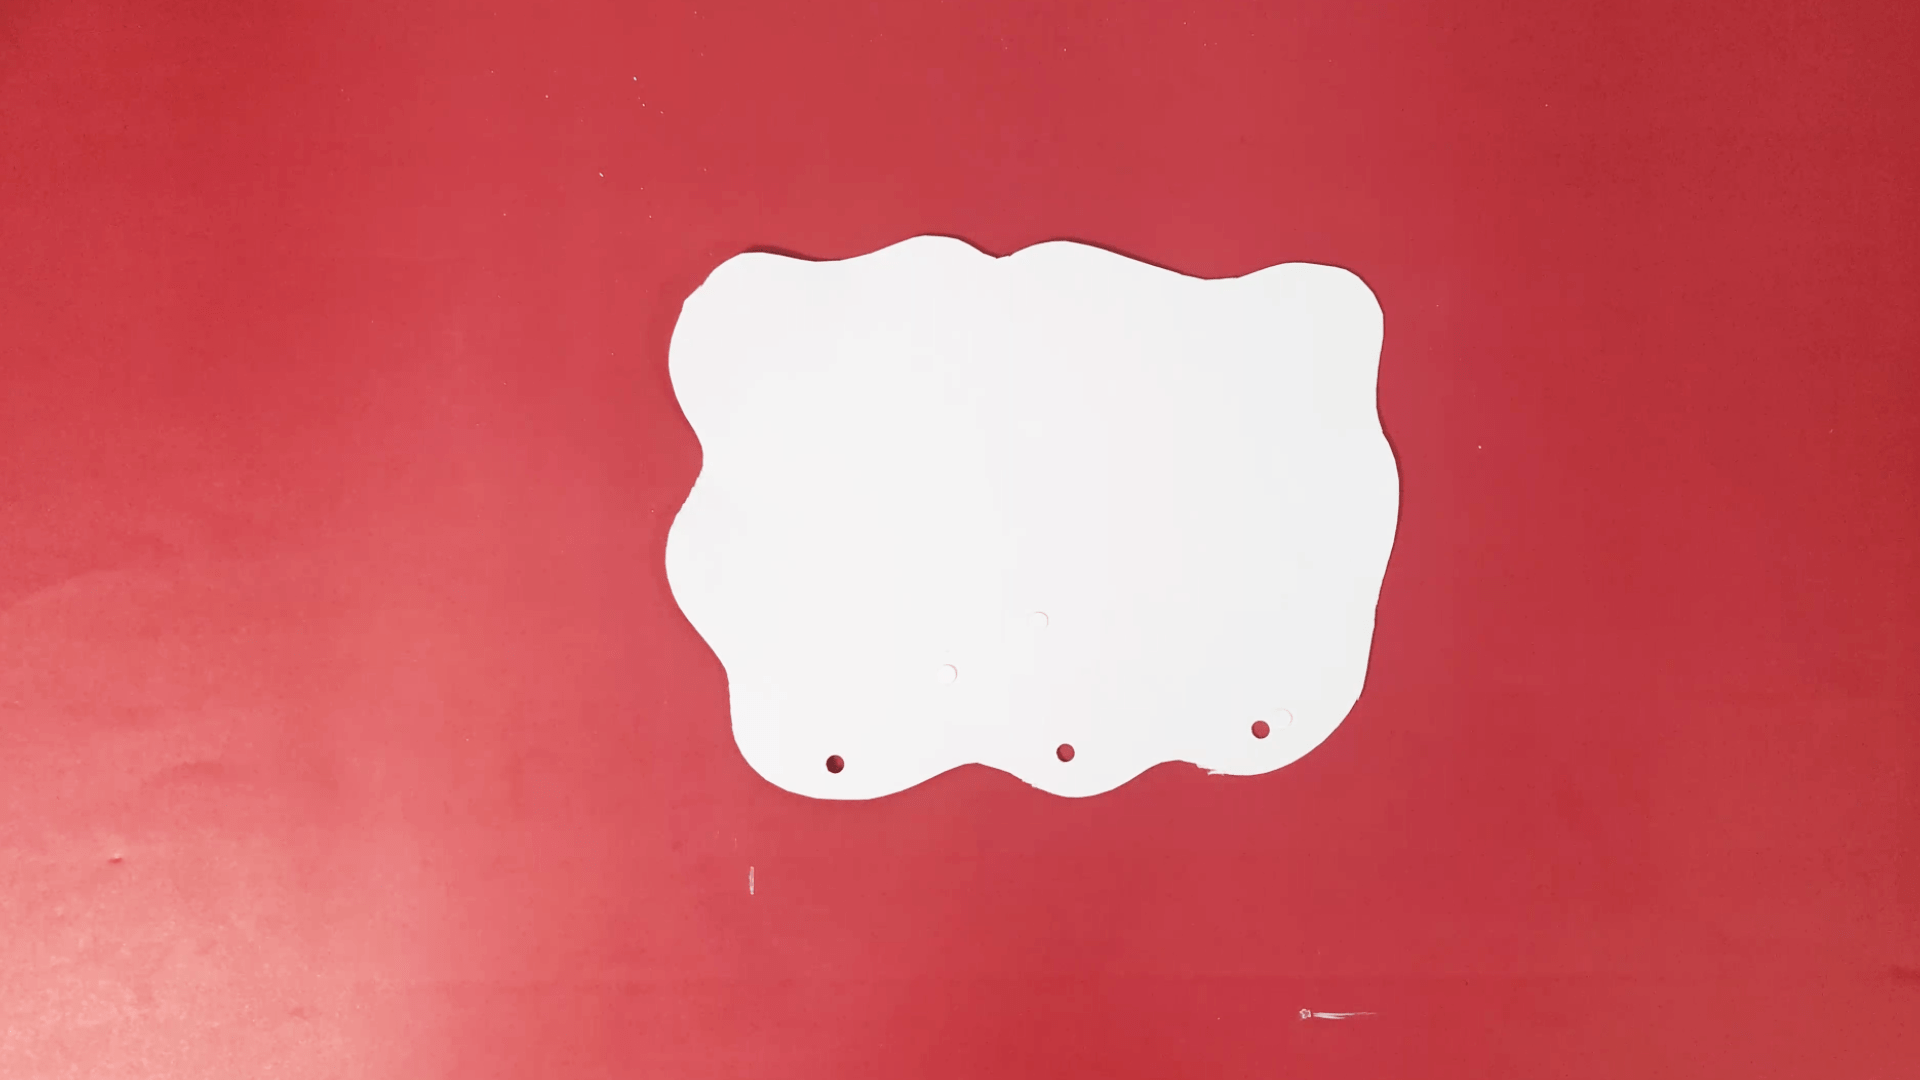
Use a hole punch to punch three holes in the bottom of the cloud.

STEP 3
Cut three pieces of string and tie a piece of string to each hole. The raindrops will hang down from these strings and it's easier to do this step now then when it's covered with cotton balls.
STEP 4
Cover the cardboard with white glue and stick on the cotton balls until the whole surface is covered.
STEP 5
Cut a red smile out of construction paper and glue it and two large googly eyes to the cloud. Set it aside to dry.
STEP 6
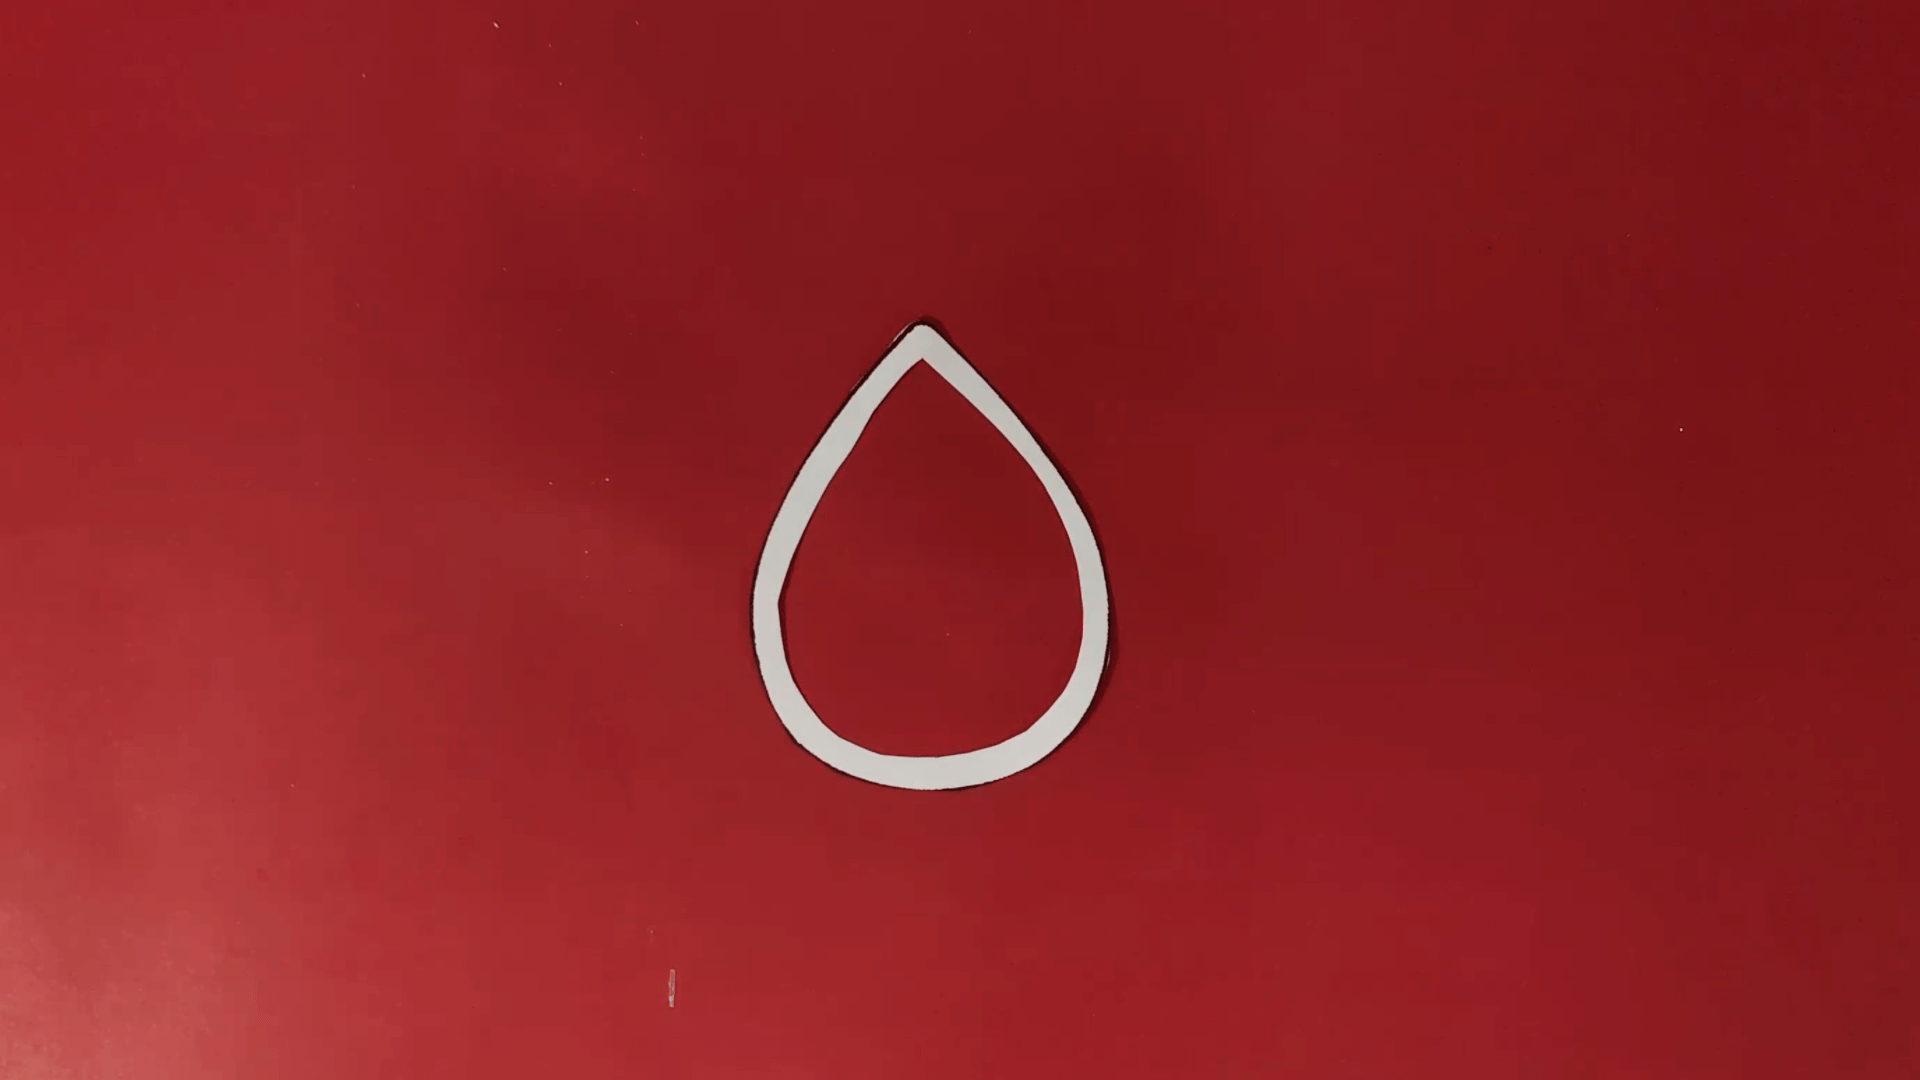
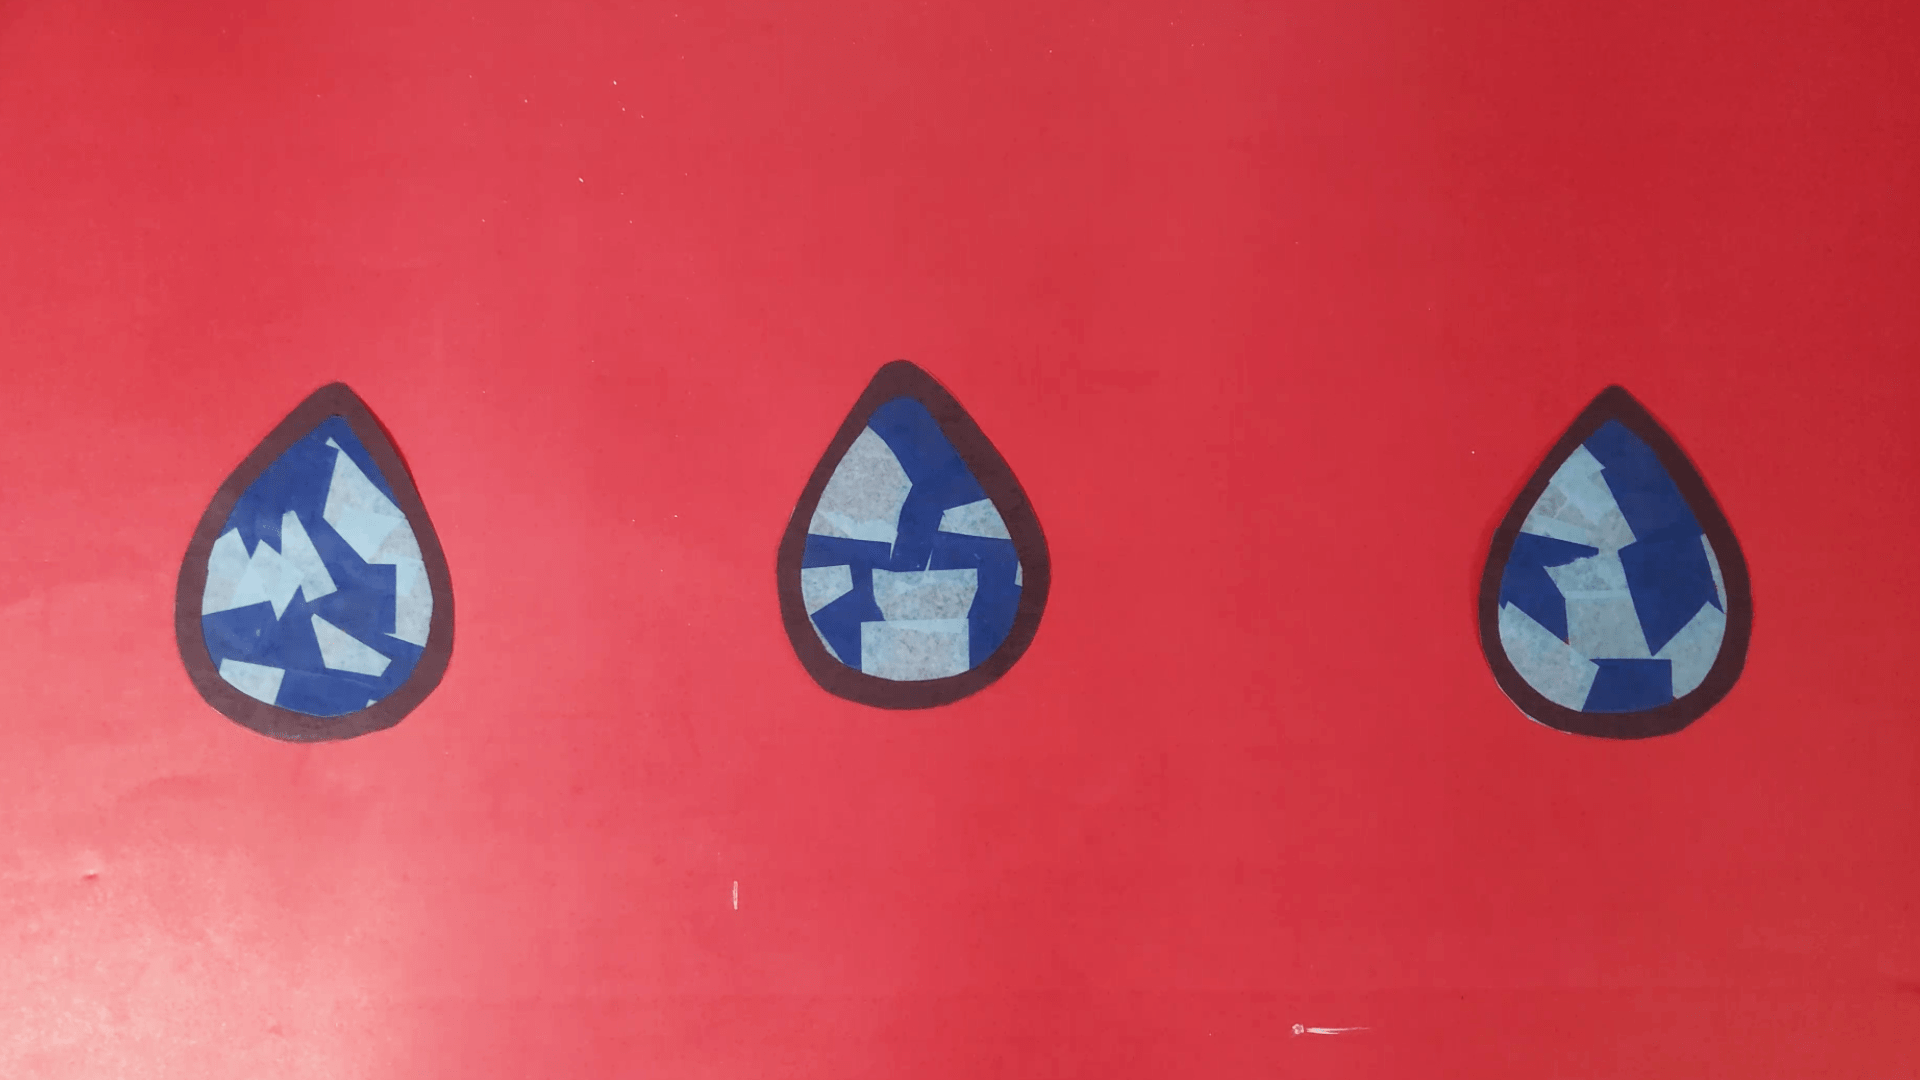
Print our raindrop template and cut it out. Discard the center piece.

STEP 7
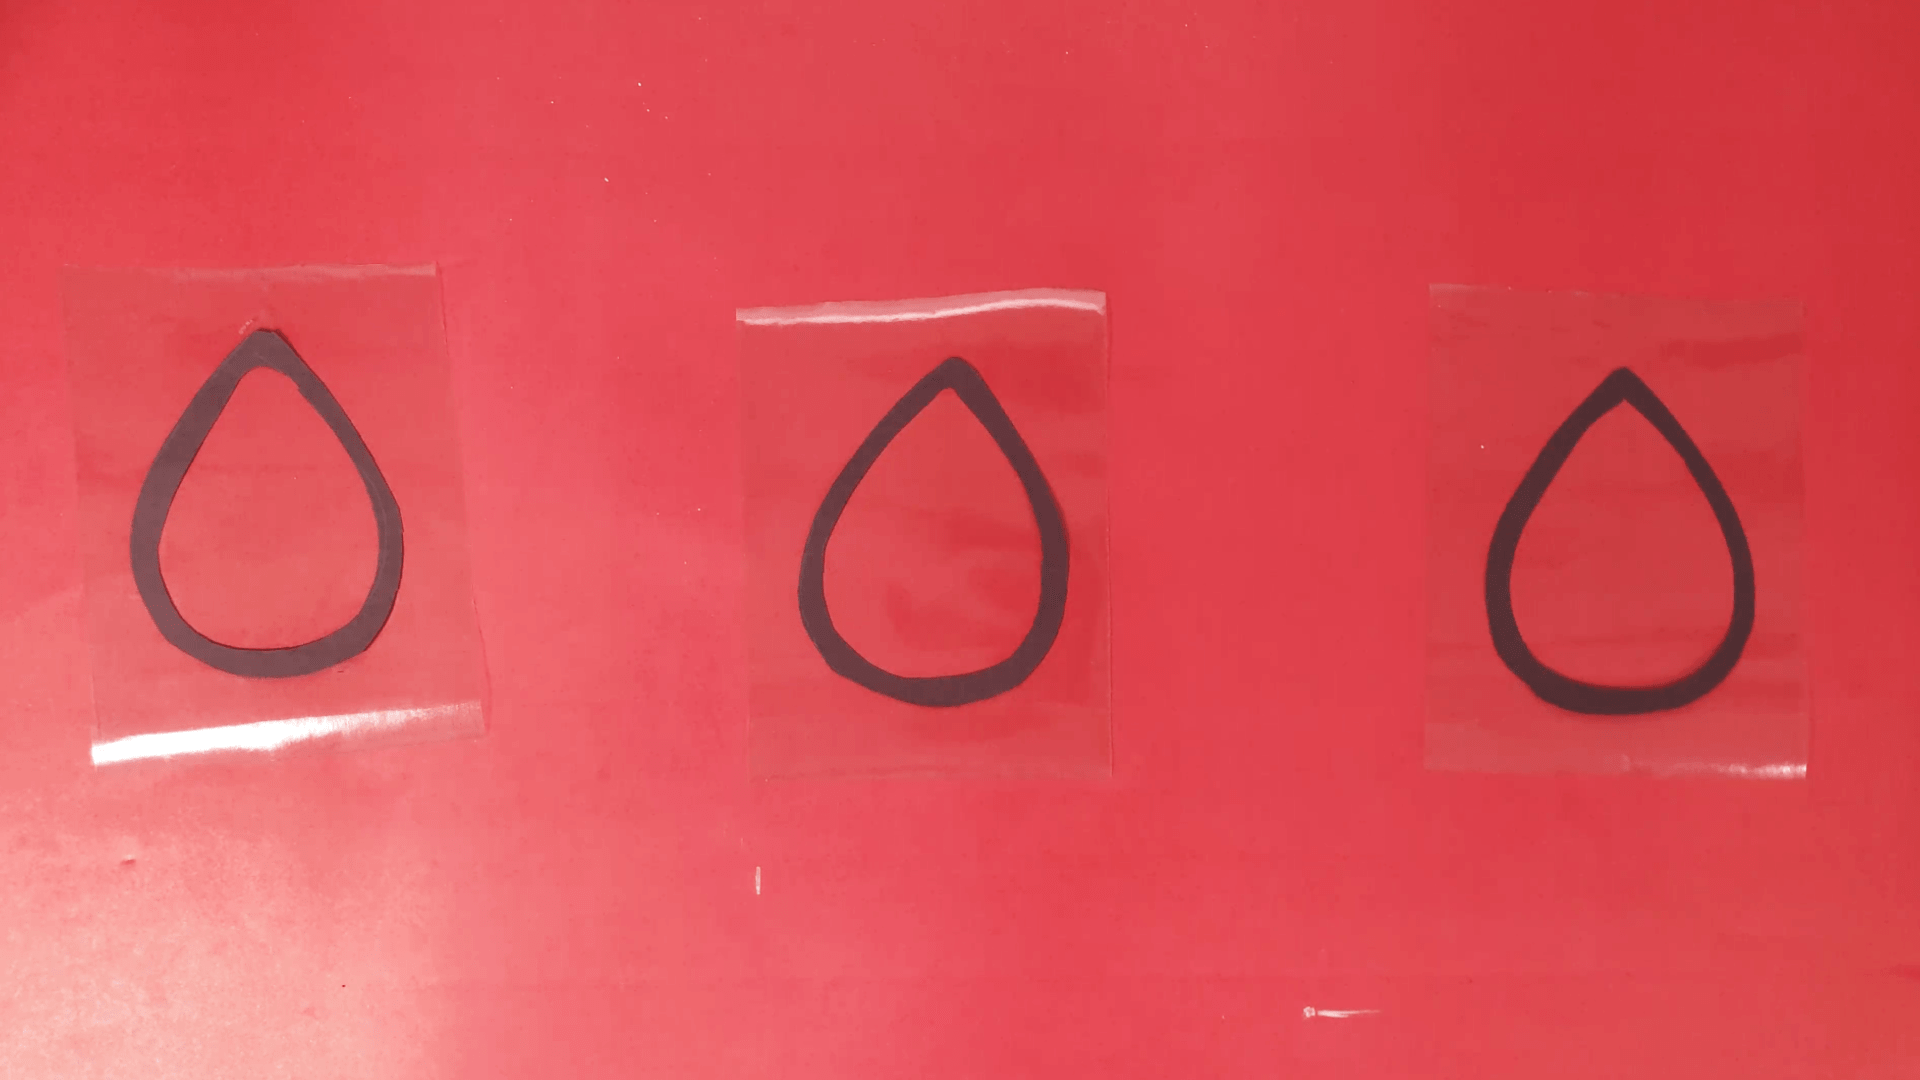
Trace the template onto black construction paper. Make three raindrops.
STEP 8
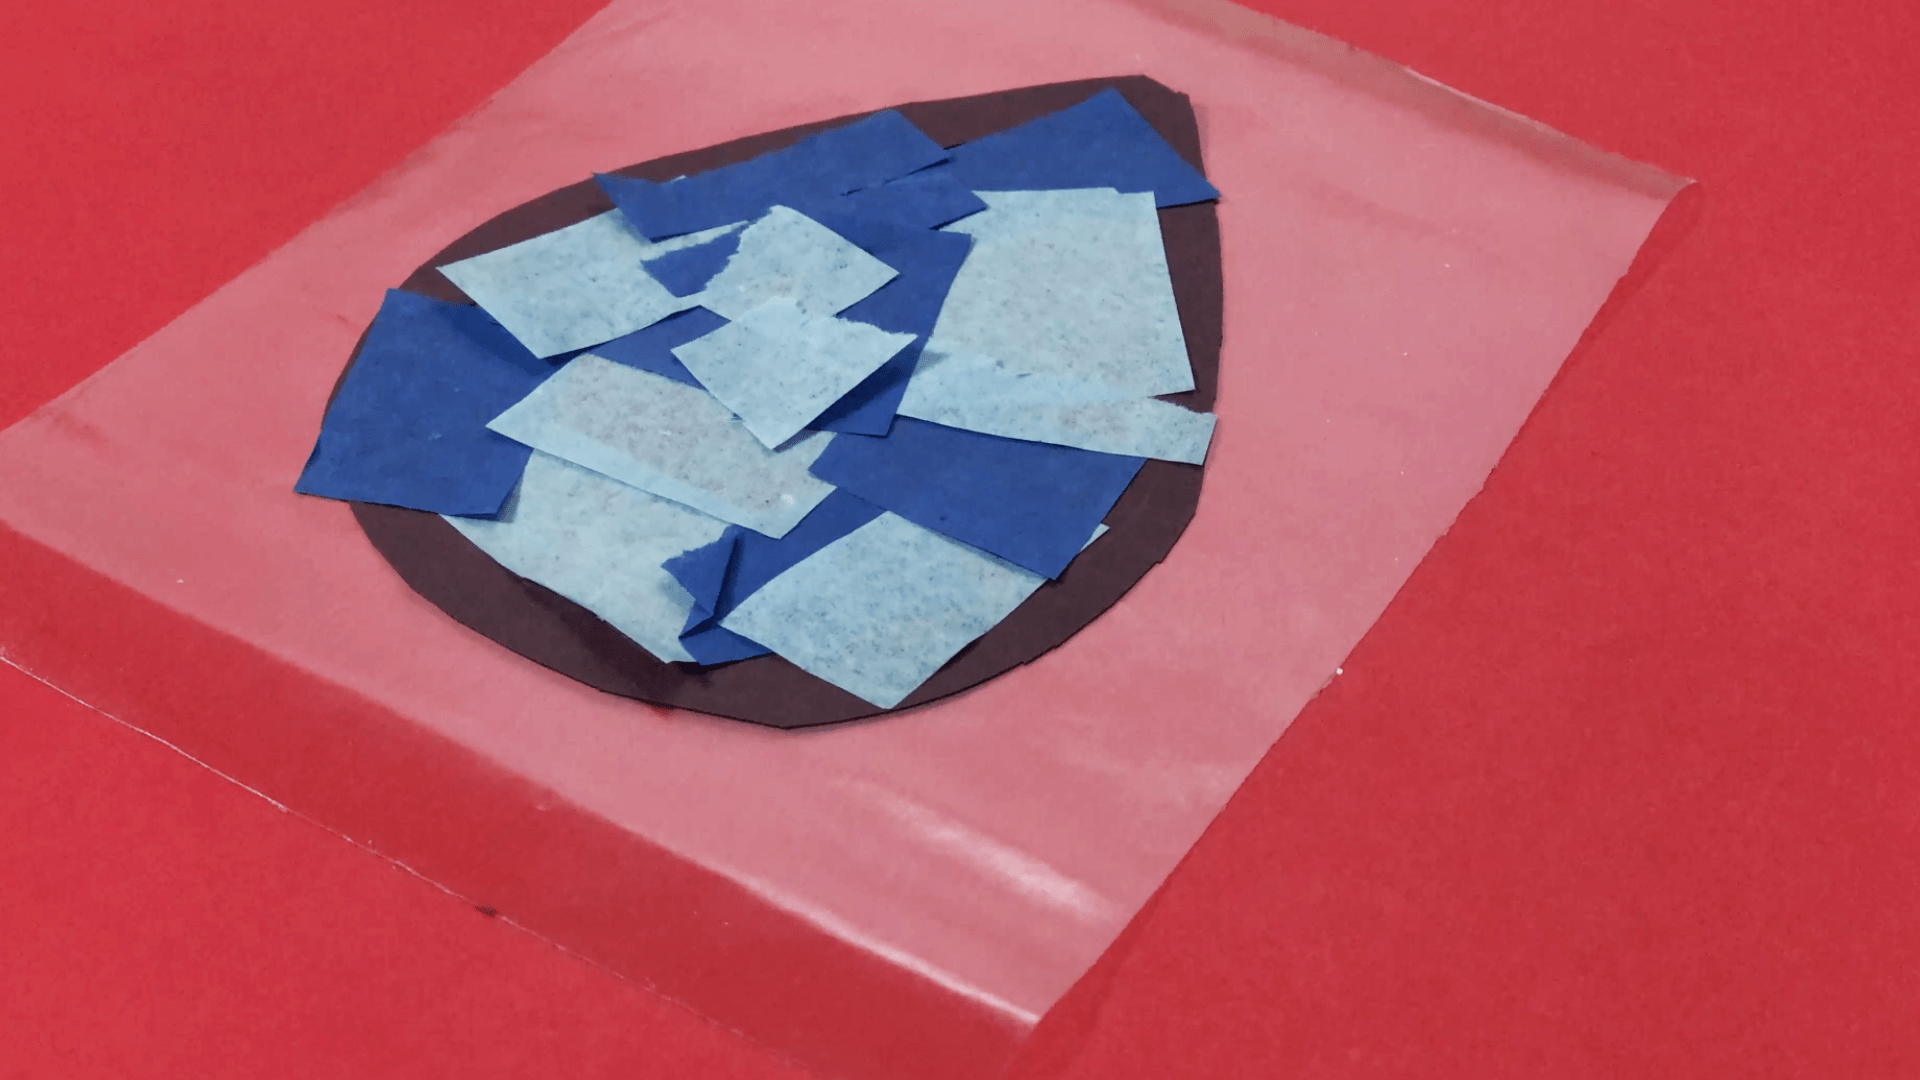
Cut a piece of contact paper that is bigger than the raindrop. Peel off the back and stick the template to it.
STEP 9
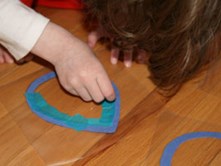
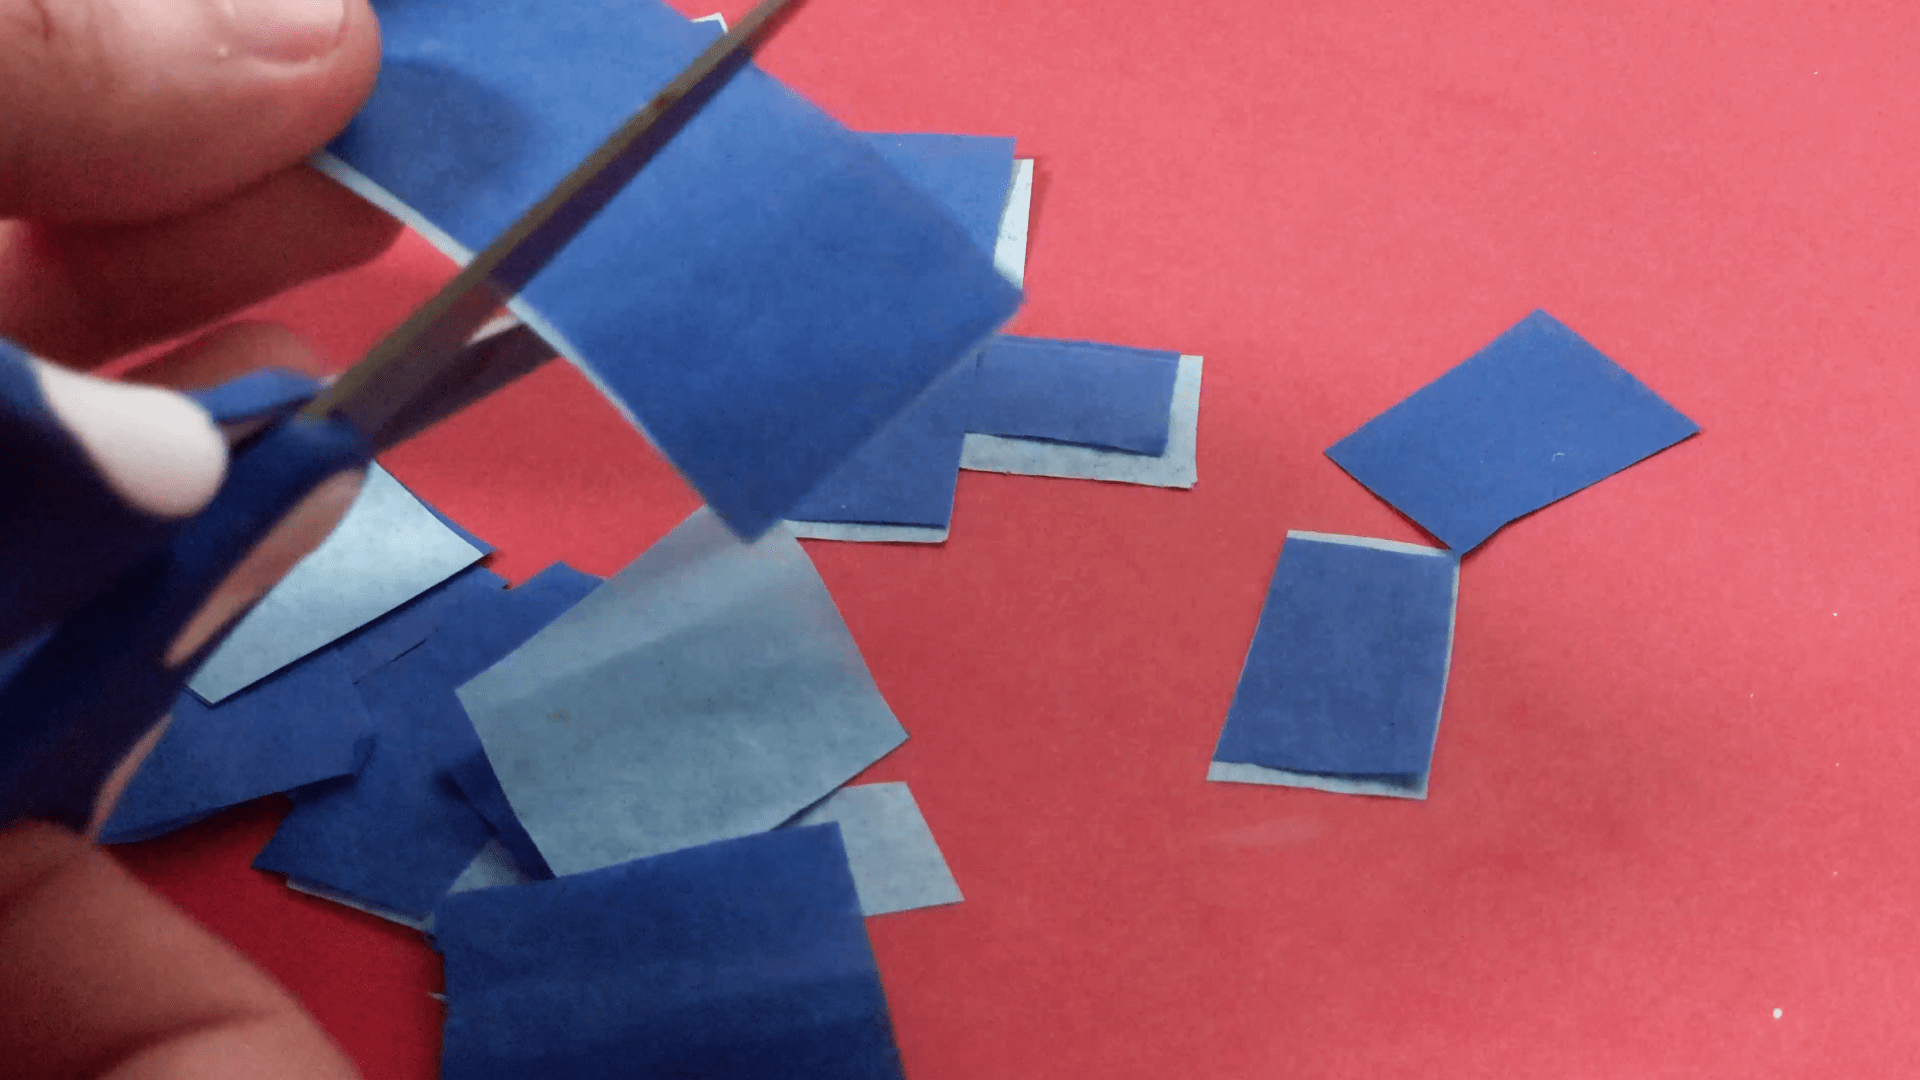
Cut the tissue paper into small squares (approx. 1"x1").
STEP 10
Use the tissue paper to fill in the raindrop. It will stick right to the contact paper. Overlap the squares as you go and it's ok if the tissue paper goes outside of the construction paper template line.

STEP 11
Cut a second piece of contact paper, peel the back off and carefully stick it on top of the first, covering the tissue paper filled raindrop.
STEP 12
Cut out the raindrop. Repeat for all raindrops
STEP 13
Tape the raindrops to the strings hanging off the cloud.

STEP 14
Hang your finished craft in the window.